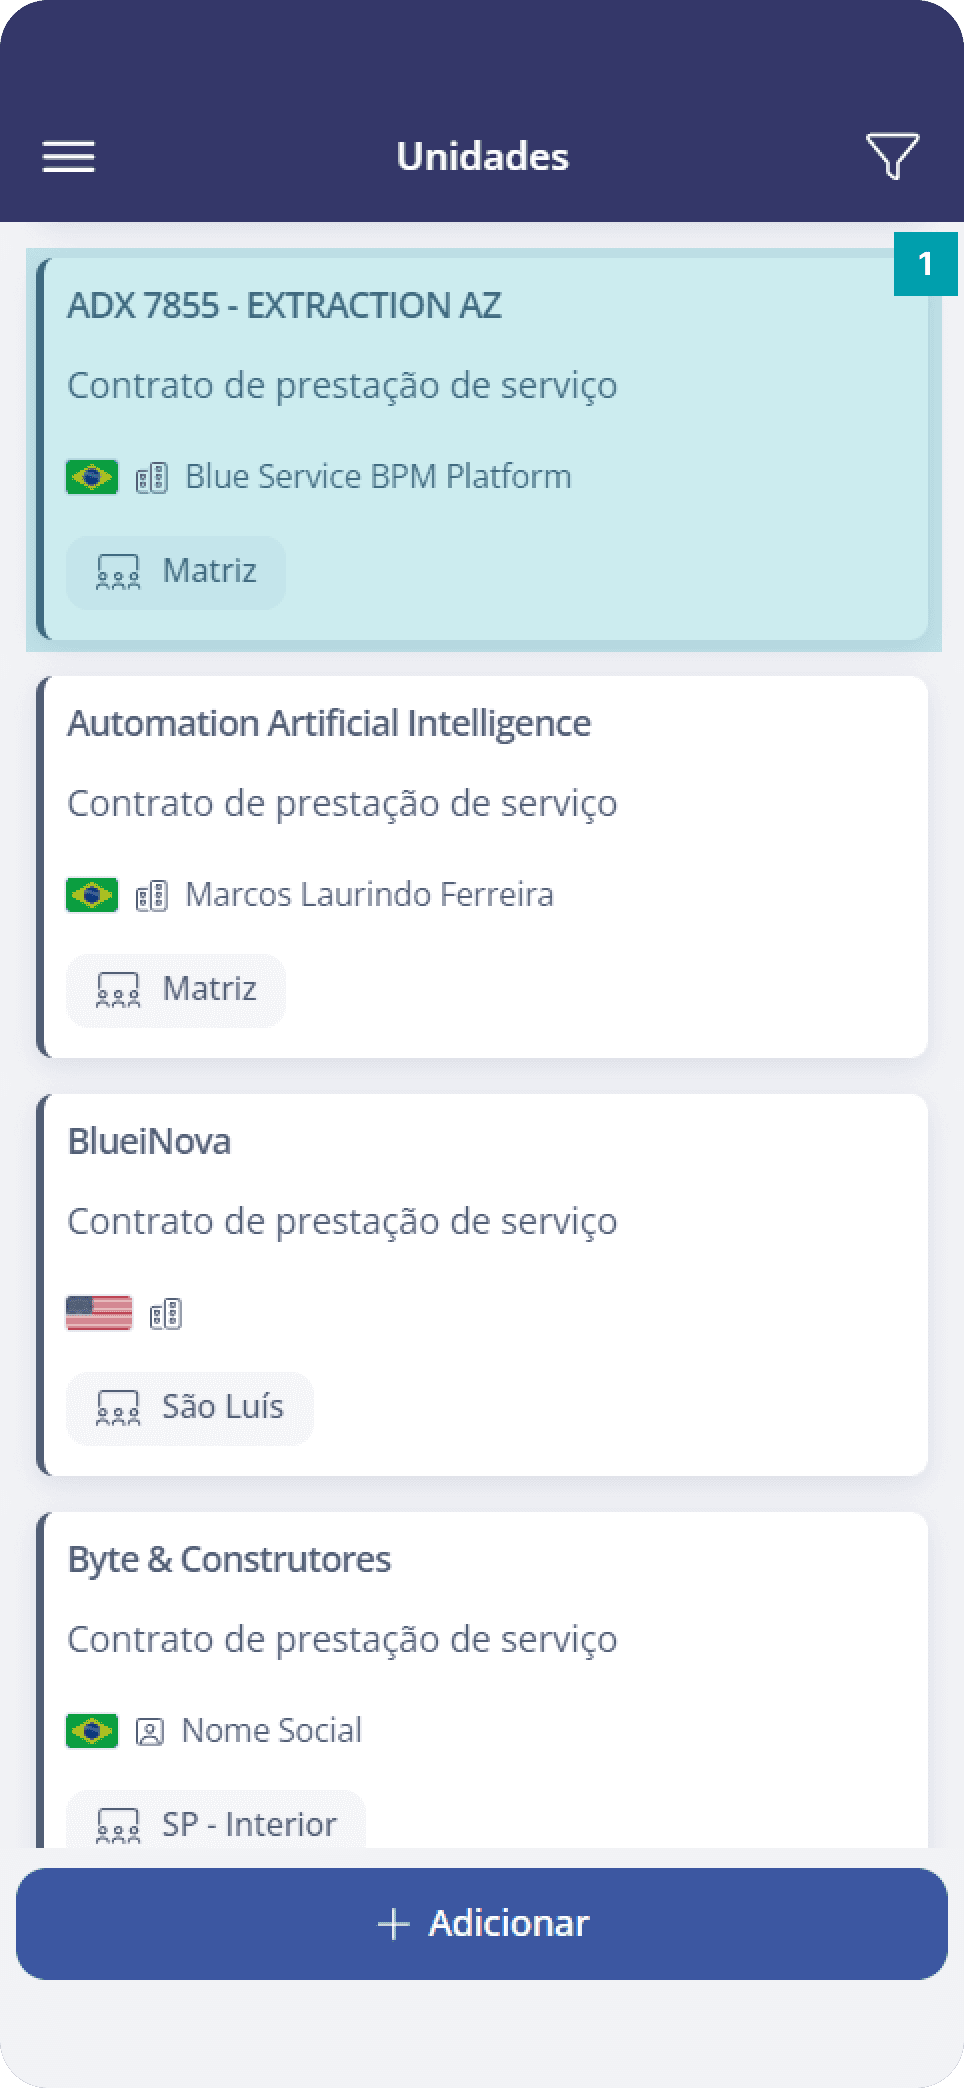
Accessing a specific unit provides a complete view of the content, as well as the ability to add and change information according to your user permissions. Let's take a look:
To open a unit, simply click the desired unit card in the list.
Details panel
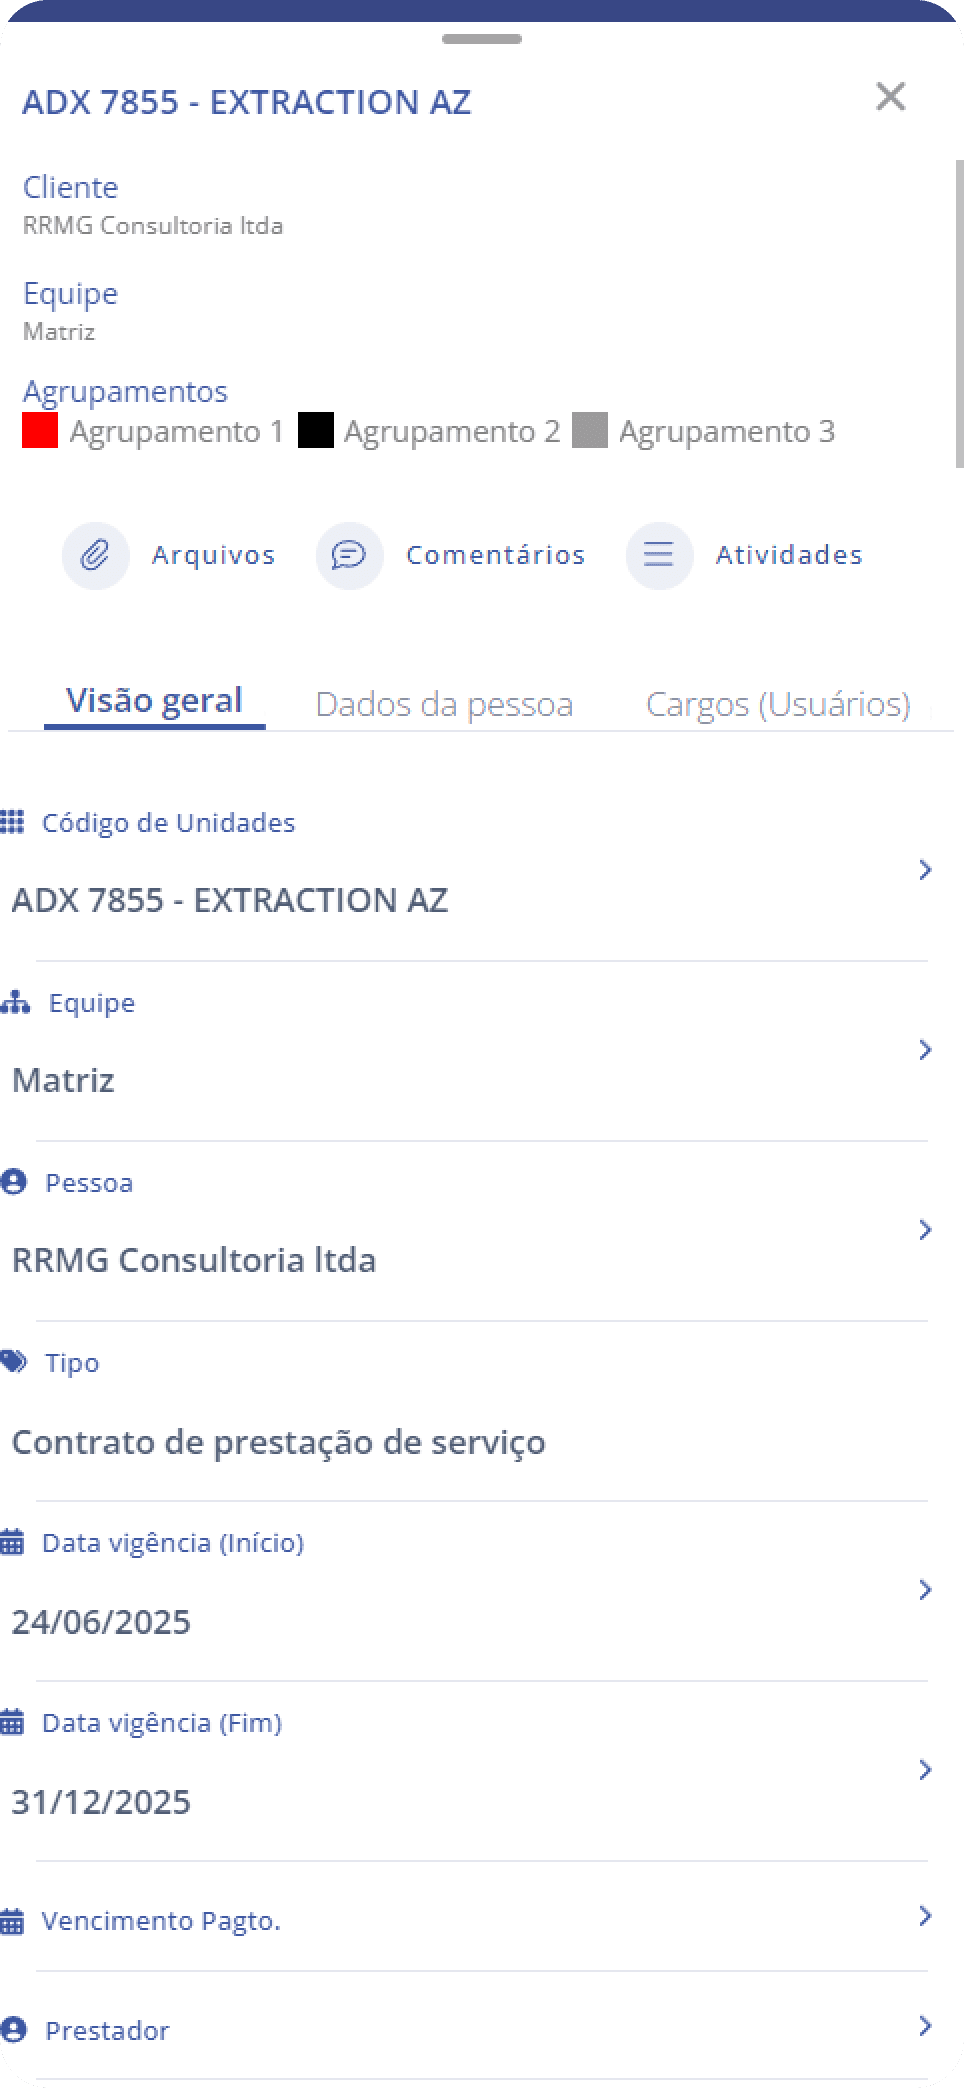
The first panel of a unit is called Overview. This panel has two sections: fixed and dynamic fields, that is, the same fields will be present in all units.
Fixed fields section
Unit code – Informs the unit identification code.
Team – Informs the team the unit belongs to.
Person – Informs the company person associated with the unit.
Type – Informs the type of unit the unit belongs to.
Effective date (start) – Informs the unit's effective start date.
Effective date (end) – Informs the unit's effective end date.
Payment due date – Informs the payment due day for the unit (from 1 to 30).
Service provider – Informs a service provider for the unit.
Status – Informs the unit status, being: Active, Inactive, and Expired.
Description – Field that informs the unit description.
Important: The information contained in the list and in the overview of a unit is presented according to the access permissions you have as a Blue Service platform user.
Dynamic fields section
Unlike fixed fields, dynamic fields are basically alternative fields that can be configured and associated with a specific unit type through the web platform. This makes it possible to customize fields for your unit form, so the form information becomes specific and allows for assertive management, focusing on capturing essential information for unit management. The dynamic fields section is located just below the fixed fields section and has several field types, let's take a look:
Dynamic field category – Informs the title of the dynamic fields section; it can be configured on the web platform. By clicking, you can expand or collapse the field view.
Single choice – Presents options; only one can be selected.
Multiple choice – Presents options; more than one can be selected if necessary.
File – Uploads a file, allowing you to select a file from the device or take a photo in real time. Accepts traditional file formats.
Activity – Allows you to search for and add an activity registered on the platform.
ZIP code – Presents the correct format and character limit for documenting a ZIP code number.
Contract/Unit – Allows you to search for and add a unit registered on the platform.
Date – Informs the entered date in the format xx/xx/xxxx.
Date and Time – Allows you to enter a date, associated with a time for more precise information. The format is: xx/xx/xxxx xx:xx.
E-mail – Presents the ideal format for documenting an email address, including format validation to avoid errors when adding or editing the information.
Team – Allows you to search for and add a team registered on the platform.
Time – Informs the entered time in the format xx:xx.
Decimal number – Presents numbers with decimal places after the comma, ideal for entering fractional numbers.
Integer number – Presents only whole numbers, ideal for entering quantities.
Monetary number – Presents automatic punctuation (period or comma), ideal for declaring financial values.
Percentage number – Presents a percentage symbol, ideal for informing percentage values.
Person – Allows you to search for and add a person registered on the platform.
Phone – Presents a phone number format, making it possible to register tags, notes, and organize phone numbers more accurately.
Short text – Allows you to add text with a small number of characters.
Long text – Allows you to add text with a large number of characters.
User – Allows you to search for and add a system user to the form.
Important note! Dynamic fields are customized with names chosen by the company that contracted the system, that is, a field of the “monetary number” type may be displayed in your unit as: “Budget Value” for example. They may also be separated by categories (item 1), that is, there will be more than one dynamic fields section to fill out. Despite the customization, knowing the field types that can be in your form is very important for the quality of your input or even to improve your form.
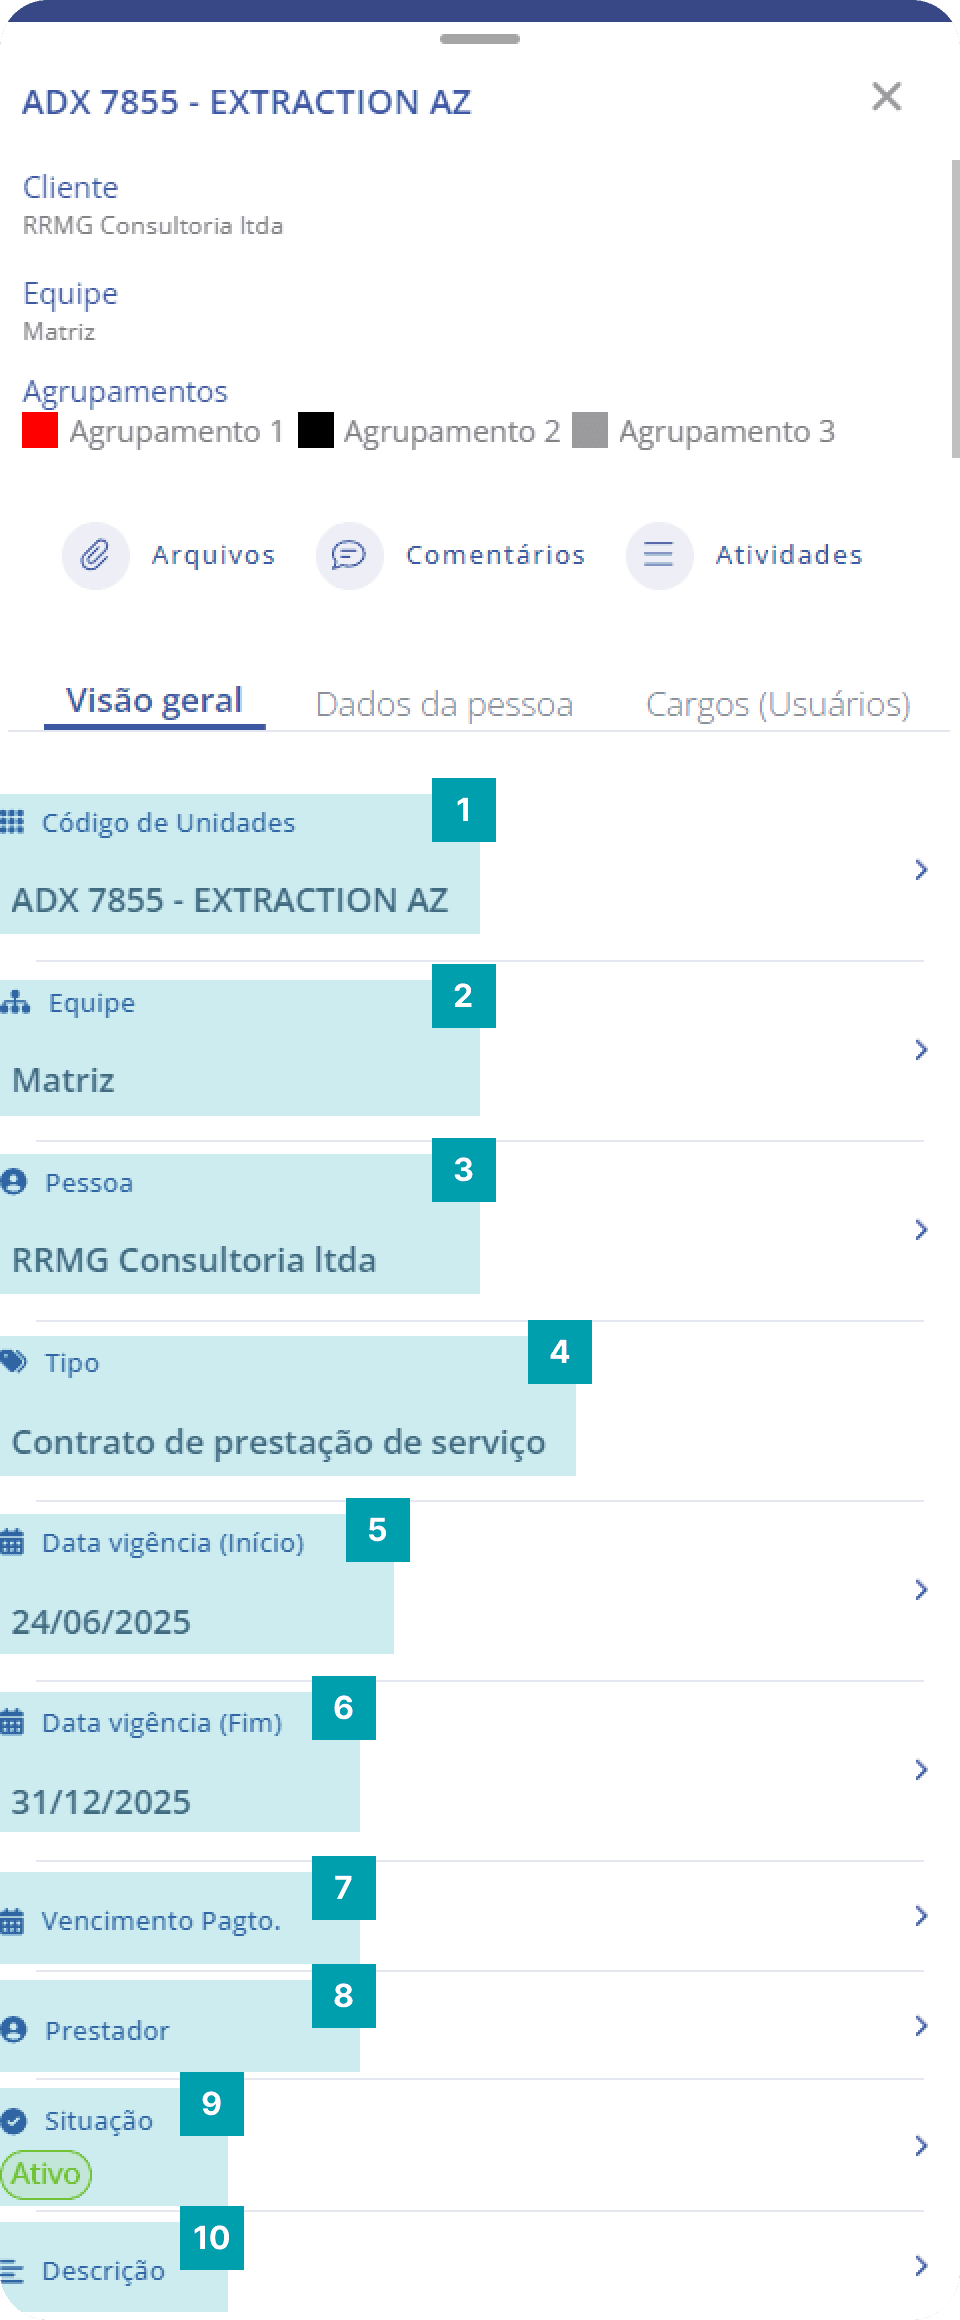
Person data panel
The person data panel is located just below the dynamic fields; its main function is to display the data of the person associated with the unit, such as:
Image – Displays the person's image (if any).
Full name / Company name – Informs the full name if it is an individual (PF) or the company name if it is a legal entity (PJ).
Social name / Trade name – Informs the social name if it is an individual (PF) or the trade name if it is a legal entity (PJ).
Country – Informs the country the person belongs to.
Person type – Informs the type of person, either Individual (PF) or Legal Entity (PJ).
Document – Informs the person's document, CPF if it is an individual (PF) or CNPJ if it is a legal entity (PJ).
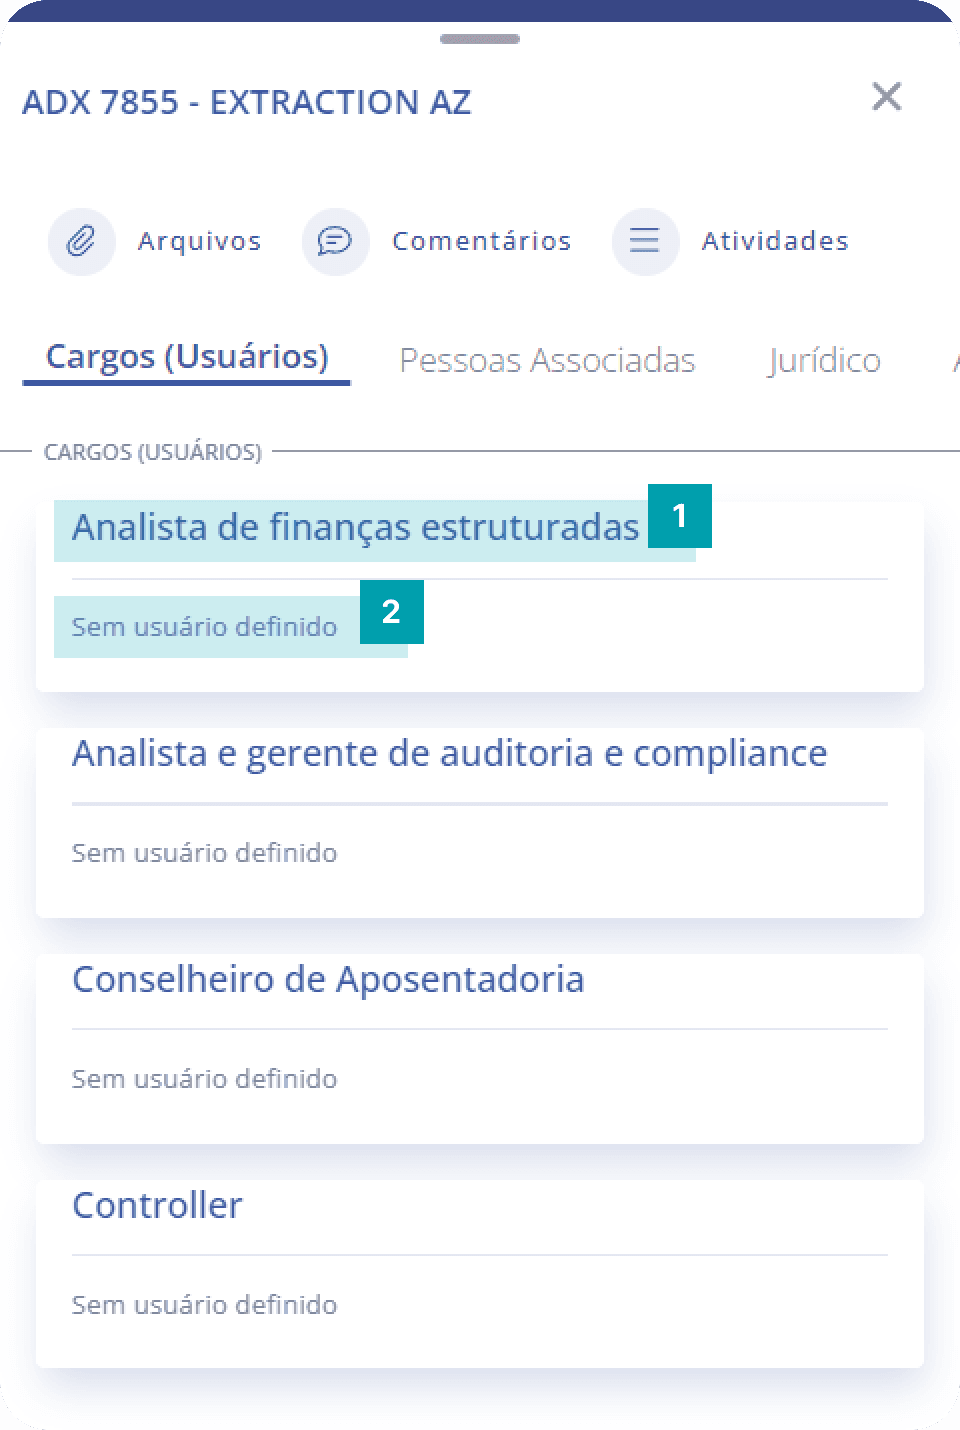
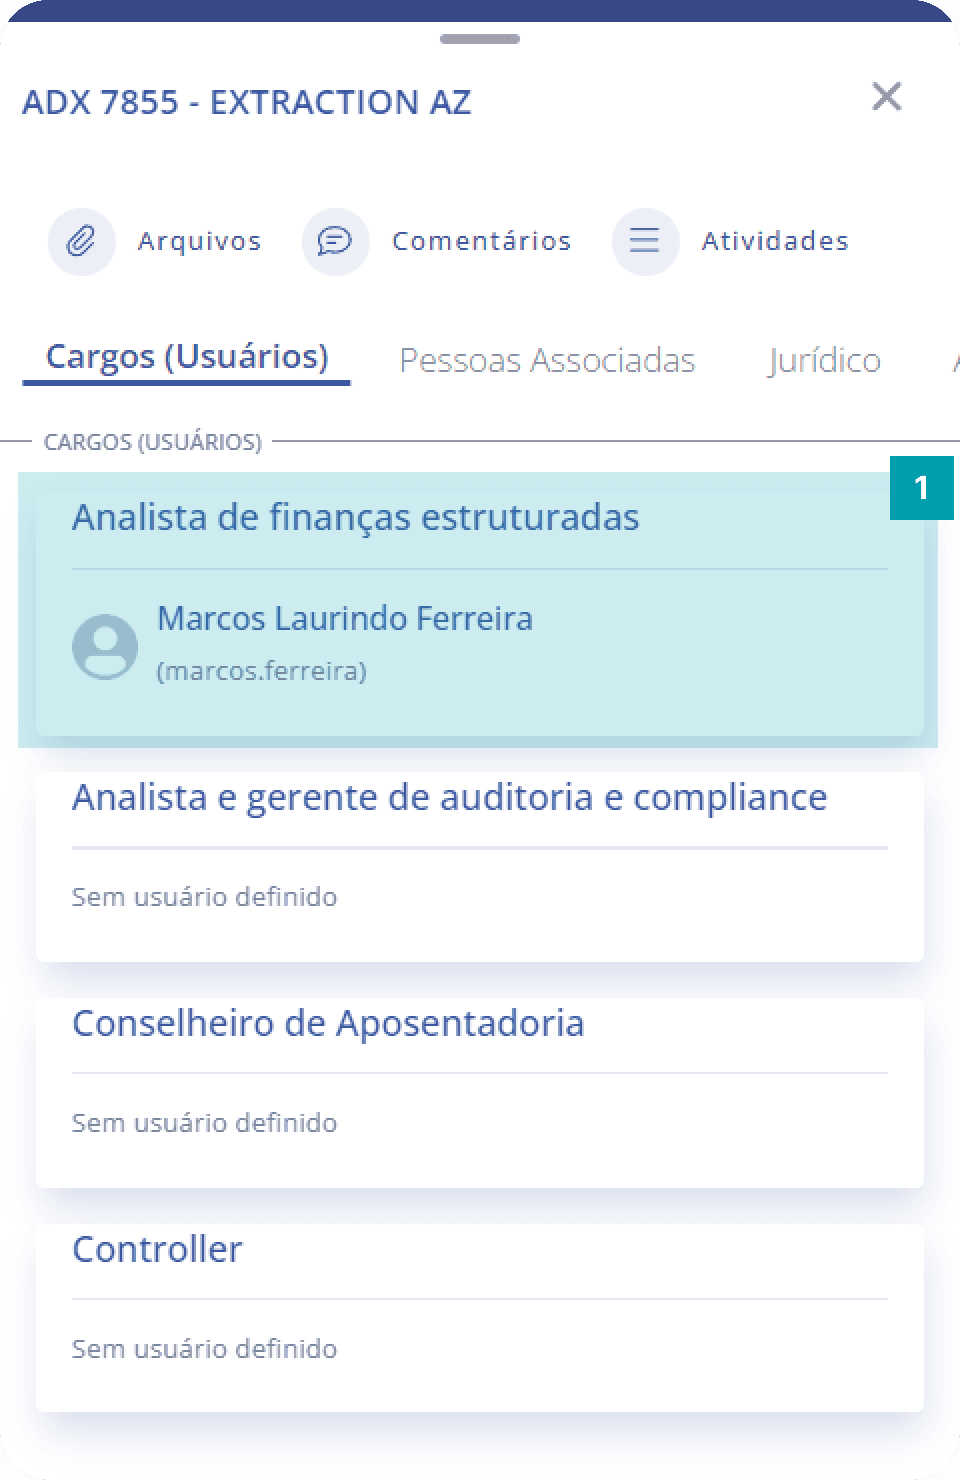
Roles panel (users)
The roles panel (users) is located just below the card with the person's data; its main function is to display the roles that belong to users in the unit.
Role – Informs the name of the role in the unit that the user belongs to.
User – Informs the user who belongs to the role. If no user is defined for the role, the message will be displayed: No user defined.
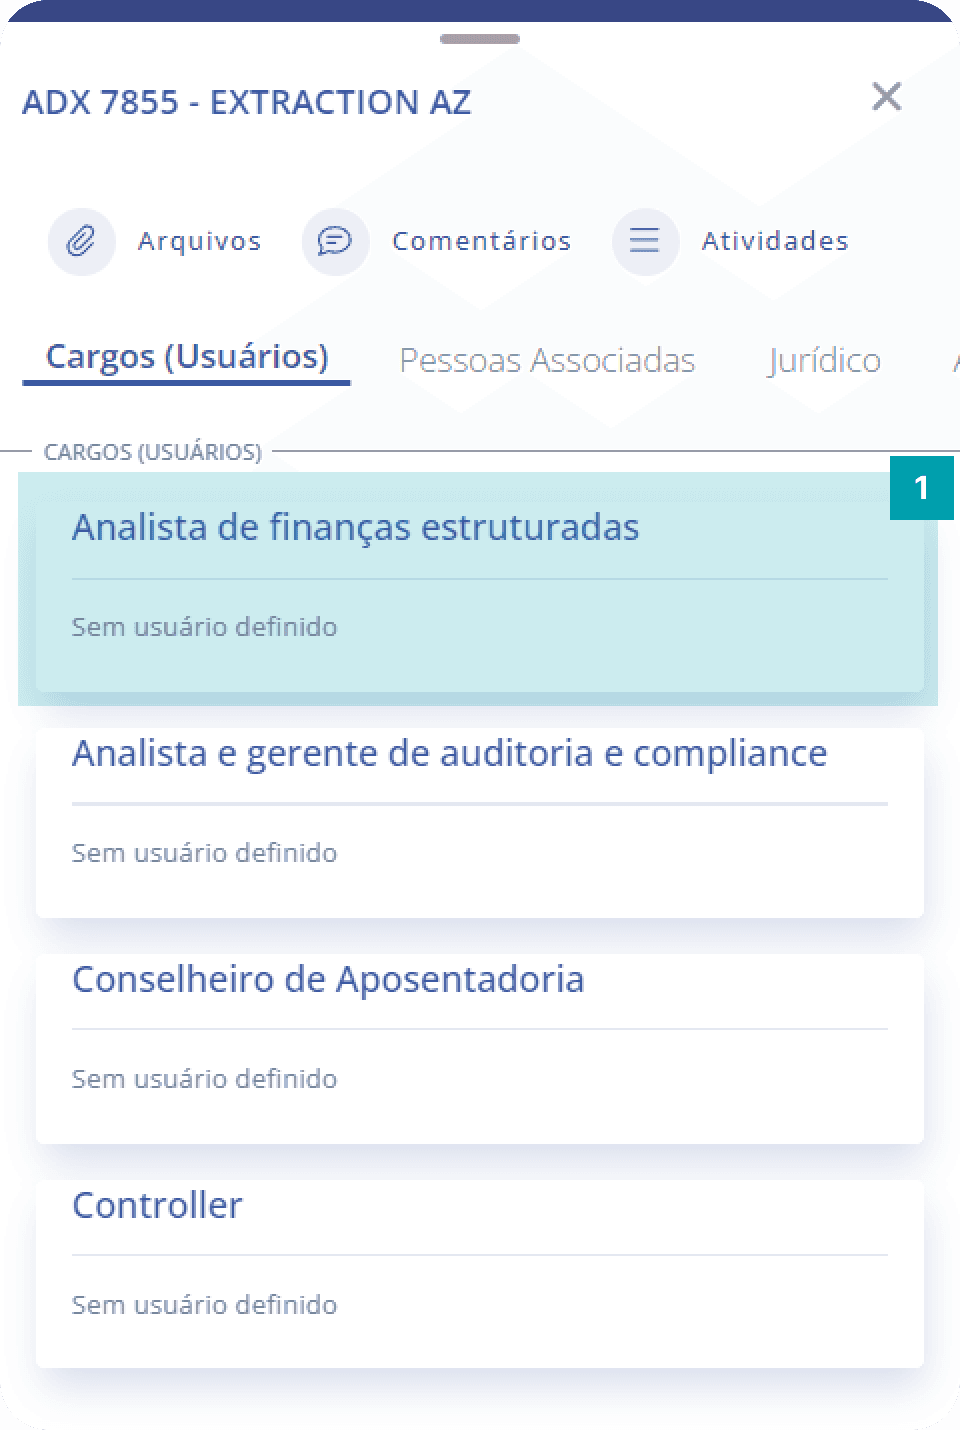
To assign a role to a user, follow these steps:
Role – Click the role you want to assign a user to in order to access the details modal.
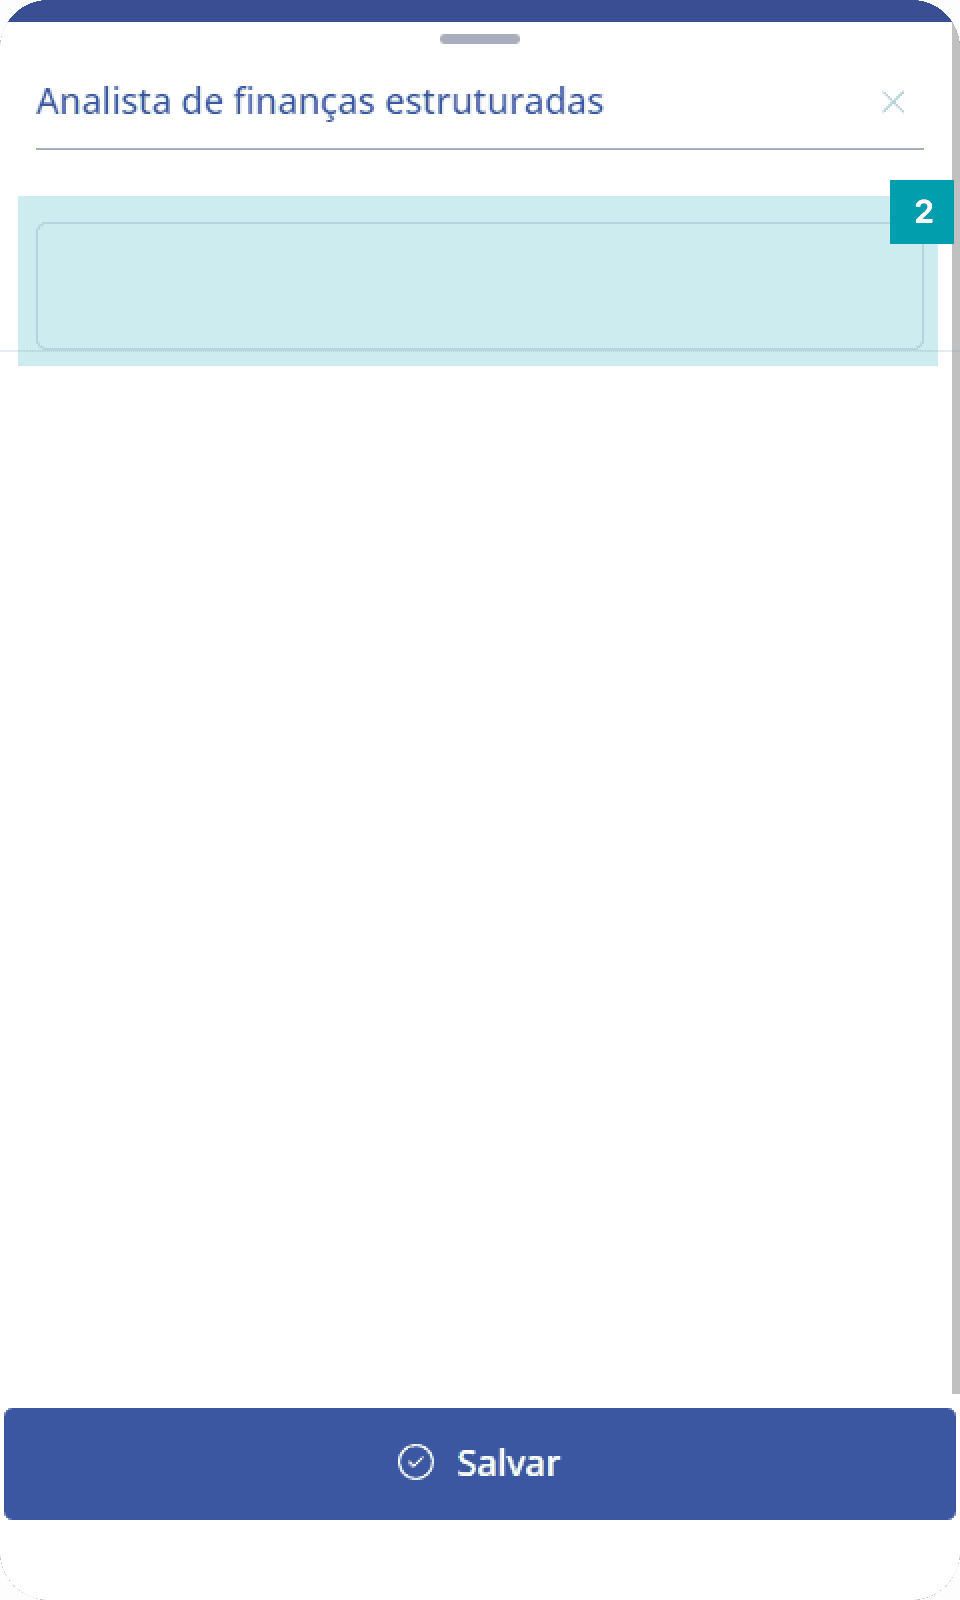
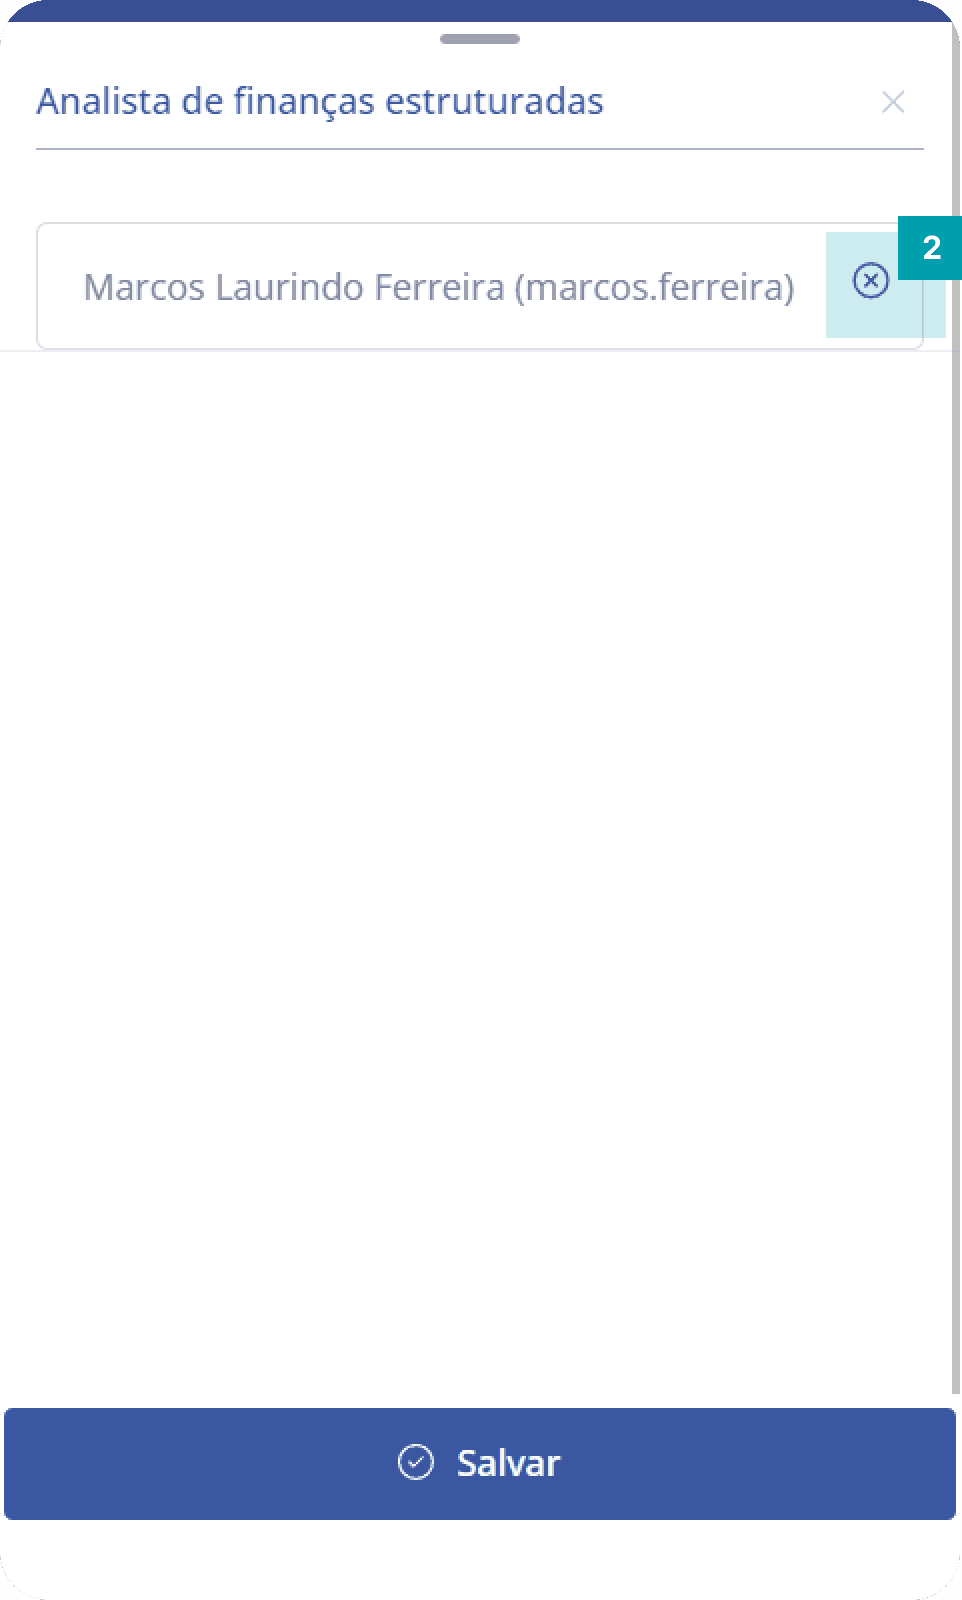
Selection – Click the selector to open the user search modal.
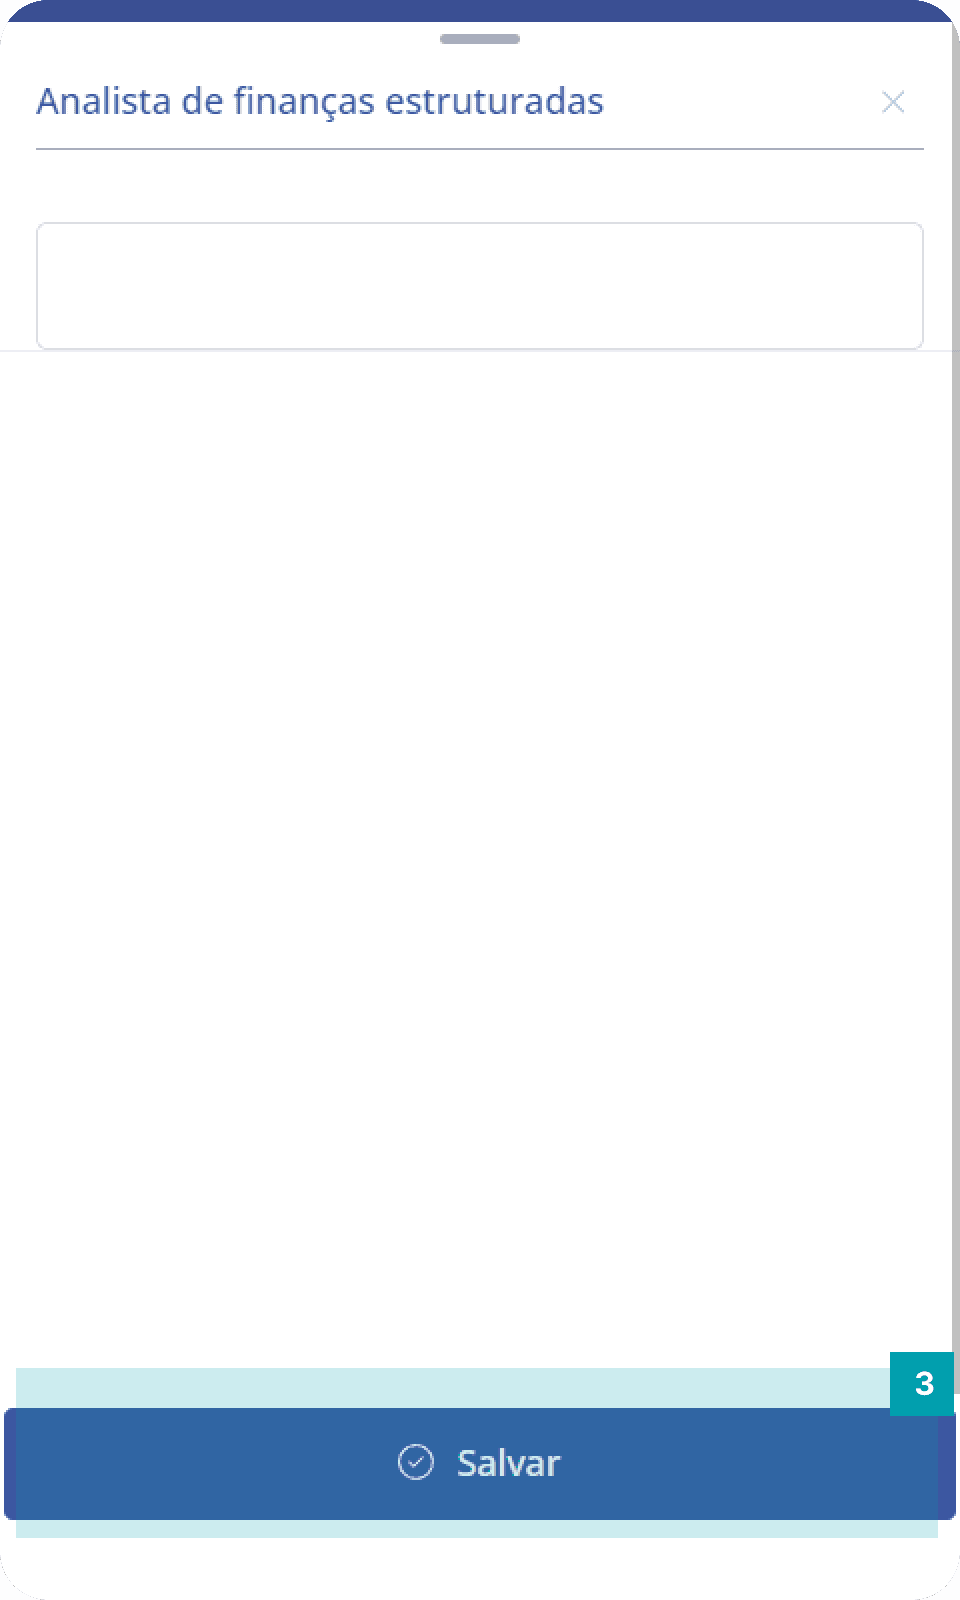
Save – After searching for and selecting a user for the role, click the Save button to finish editing.
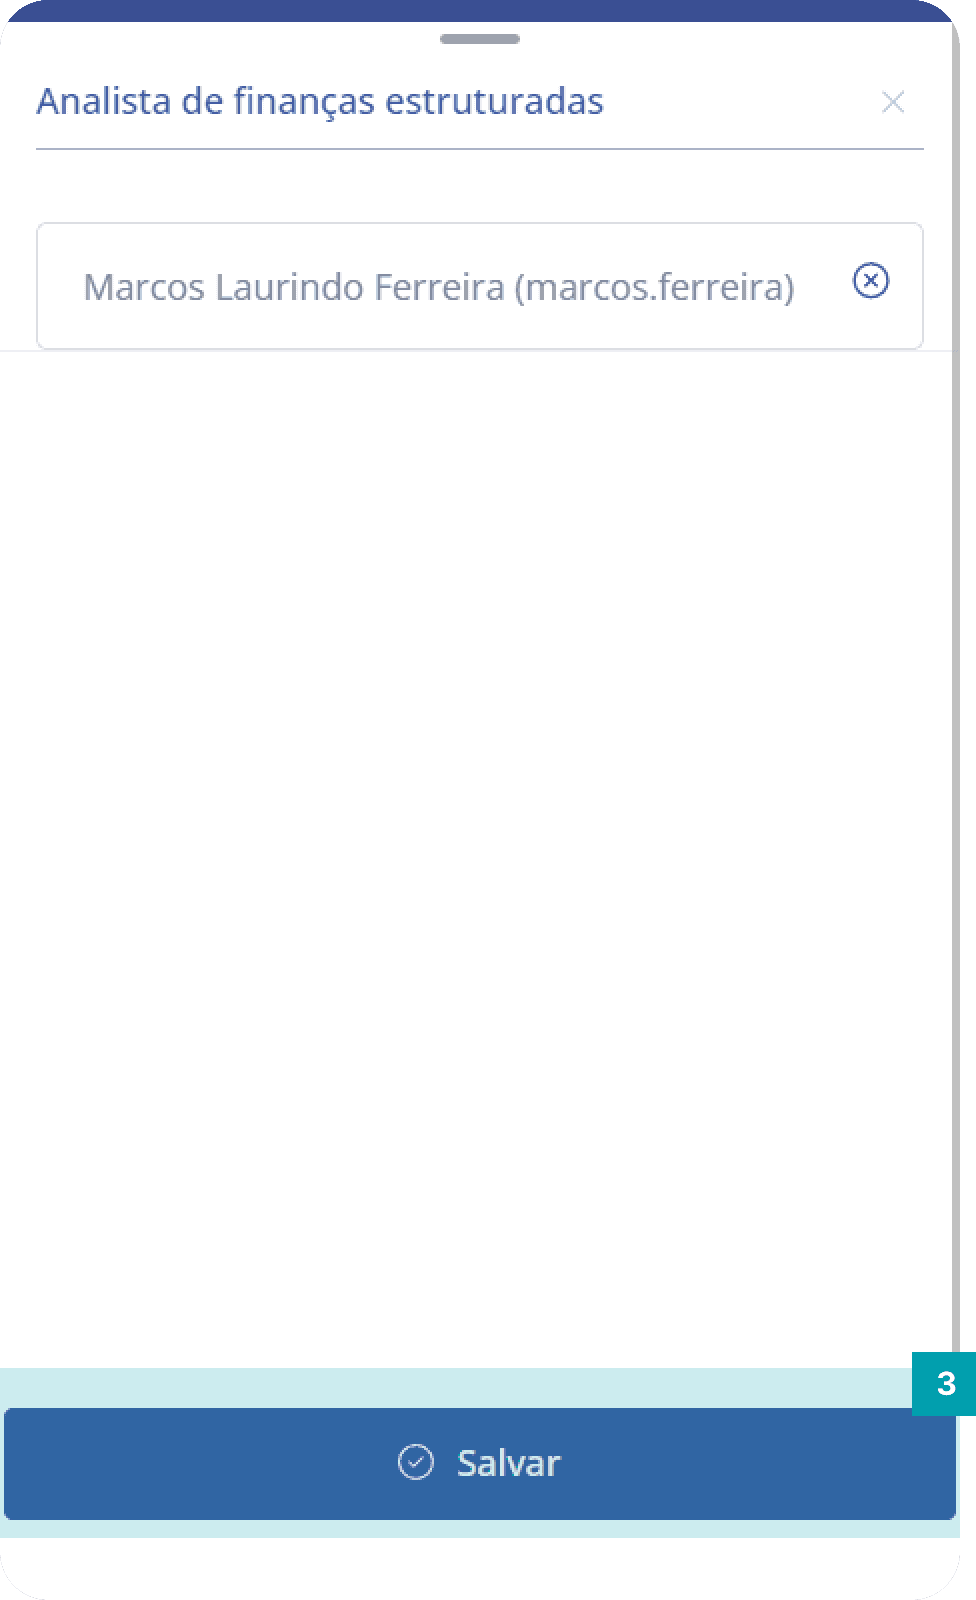
To remove a role from a user, follow these steps:
Role – Click the role you want to remove from a user to access the details modal.
Removal – Click the X icon at the end of the selector to remove the user from the role.
Save – After removing the user from the role, click the Save button to finish editing.
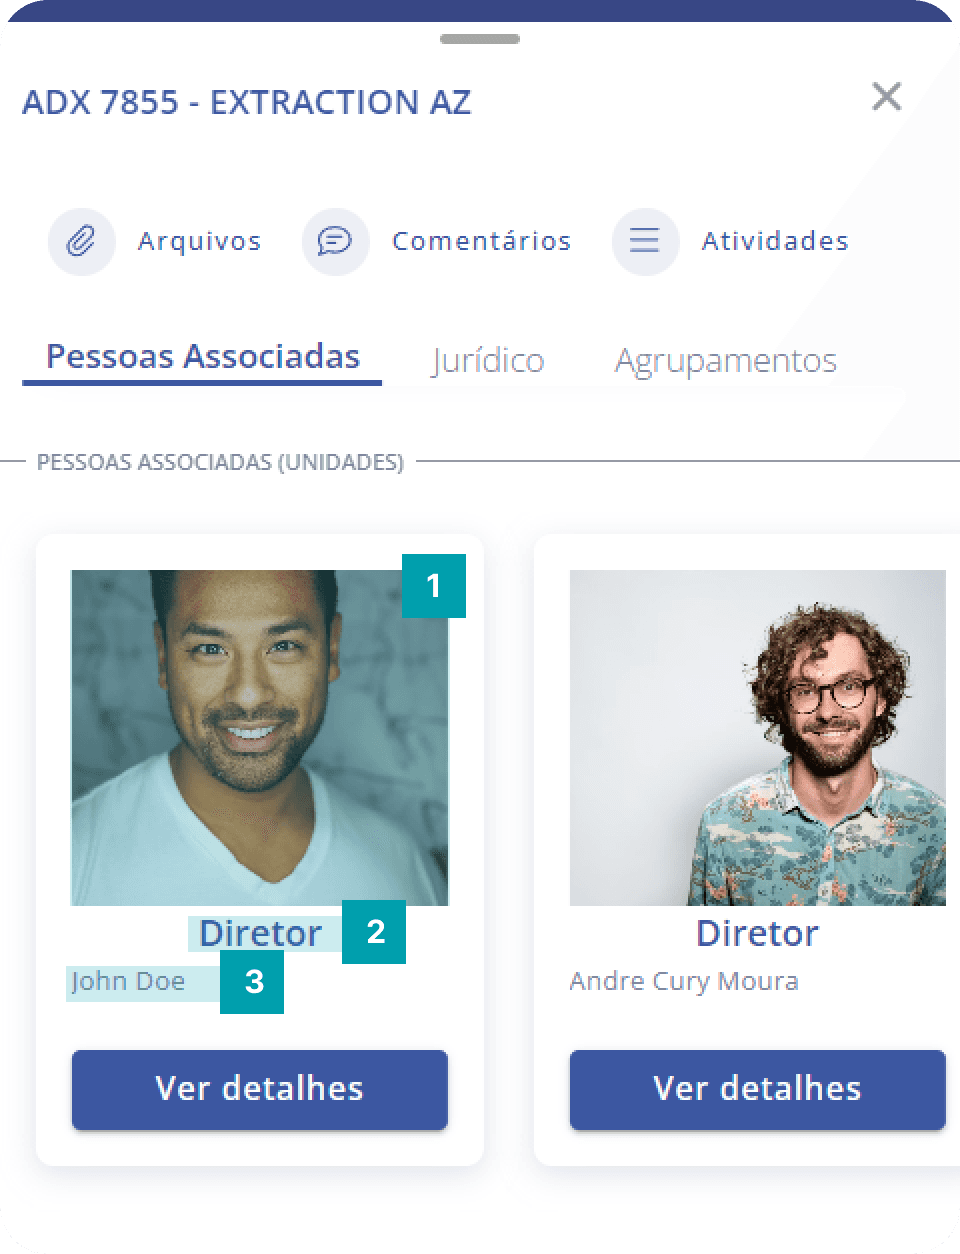
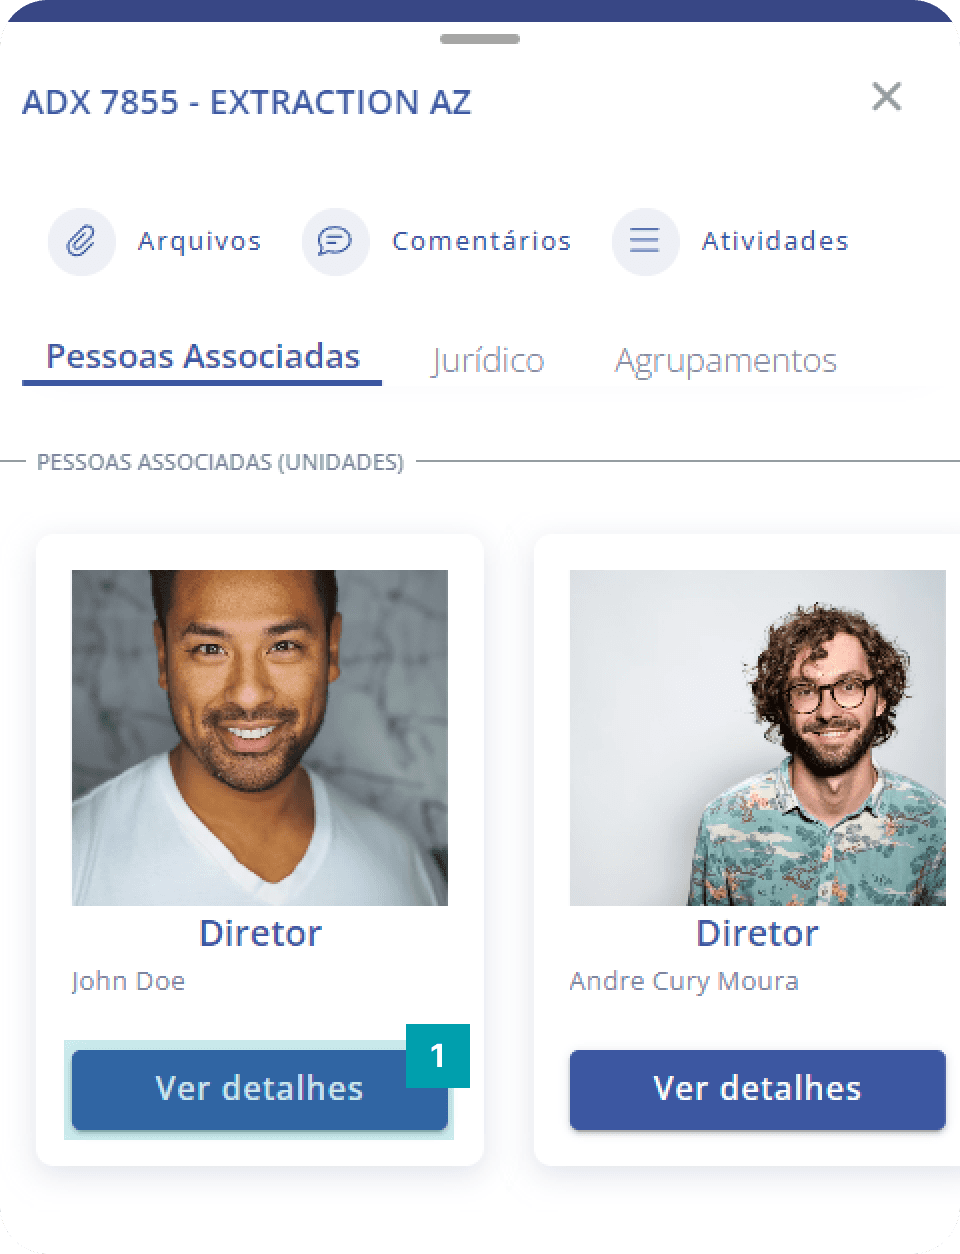
Associated people panel (units)
The associated people panel (units) is located just below the roles (users); its main function is to show all people associated with specific roles in the unit. This section has horizontal navigation, where you can swipe to view more associated people cards, and the card has the following information:
Image – Displays the image of the associated person
Role – Informs the role in the unit that the person belongs to.
Name – Informs the name of the person who belongs to the role, being the social name if it is an individual (PF) or the trade name if it is a legal entity (PJ).
It is also possible to access the details of the person associated with the role in the unit:
View details – Click View details to access the details modal of the person associated with the role.
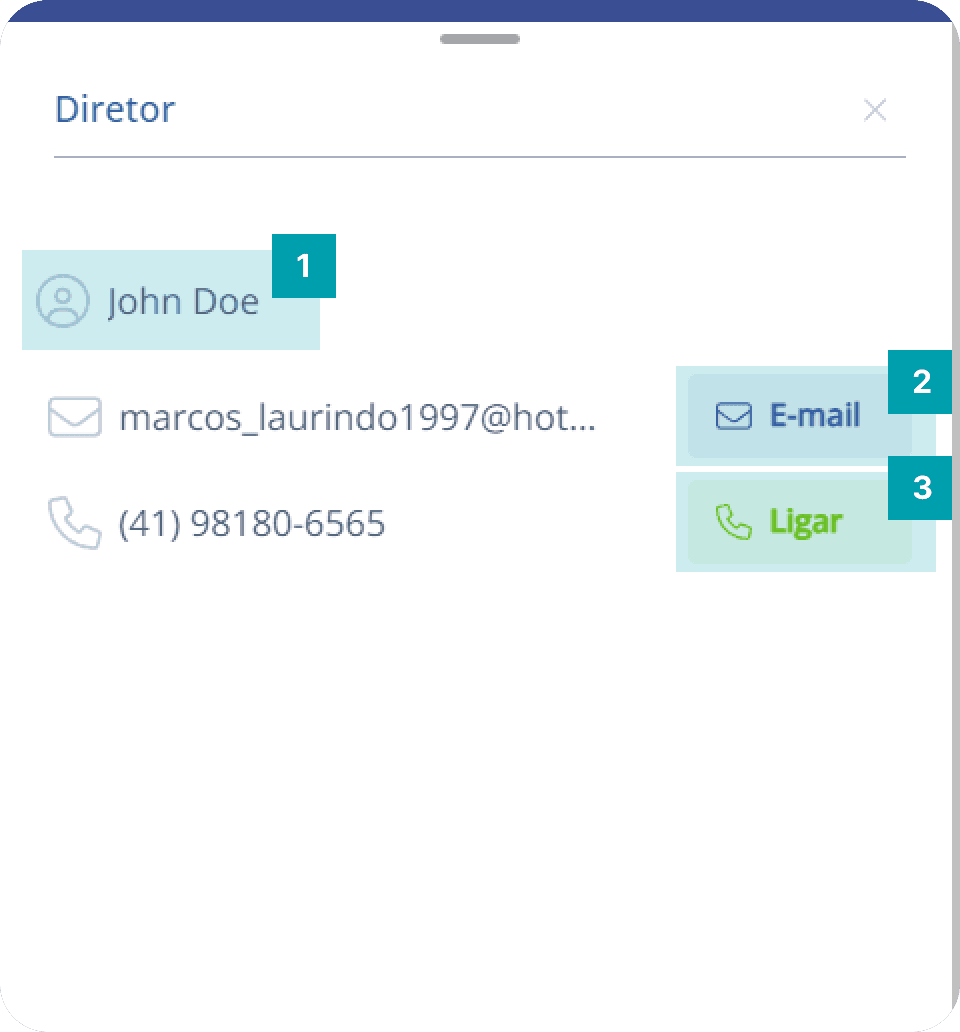
The following information is displayed in the details modal:
Social name / Trade name – Informs the social name if it is an individual (PF) or the trade name if it is a legal entity (PJ).
E-mail – If the person has one or more email addresses defined, it is possible to click the Email button, and when clicked you will be redirected to your device's email app with the person's emails already defined in To or Recipients.
Phone numbers – If the person has one or more defined contact phone numbers, it is possible to click the Call button, and when clicked you will be redirected to your device's calling app with the person's phone number already defined.
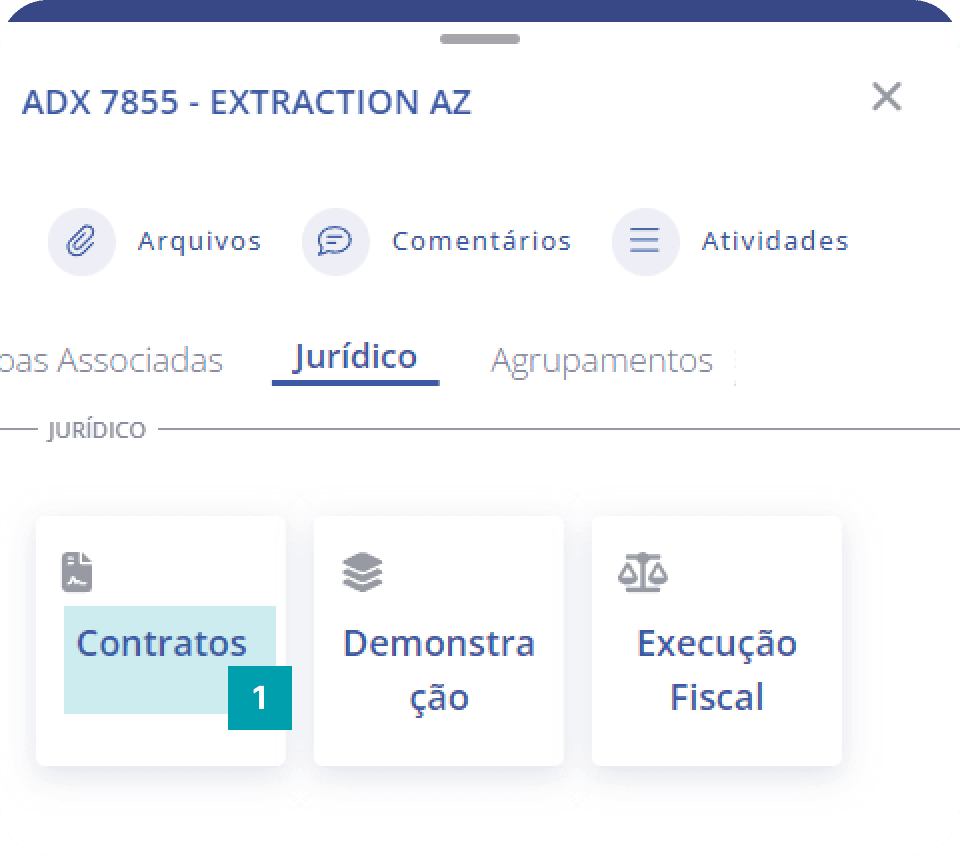
Legal panel
The legal panel is located just below the associated people cards (units); its main function is to display the legal documents the unit is associated with.
Type – informs the type of legal document.
When clicking a type of legal document, a modal opens containing all legal documents of the selected type that the unit is associated with.
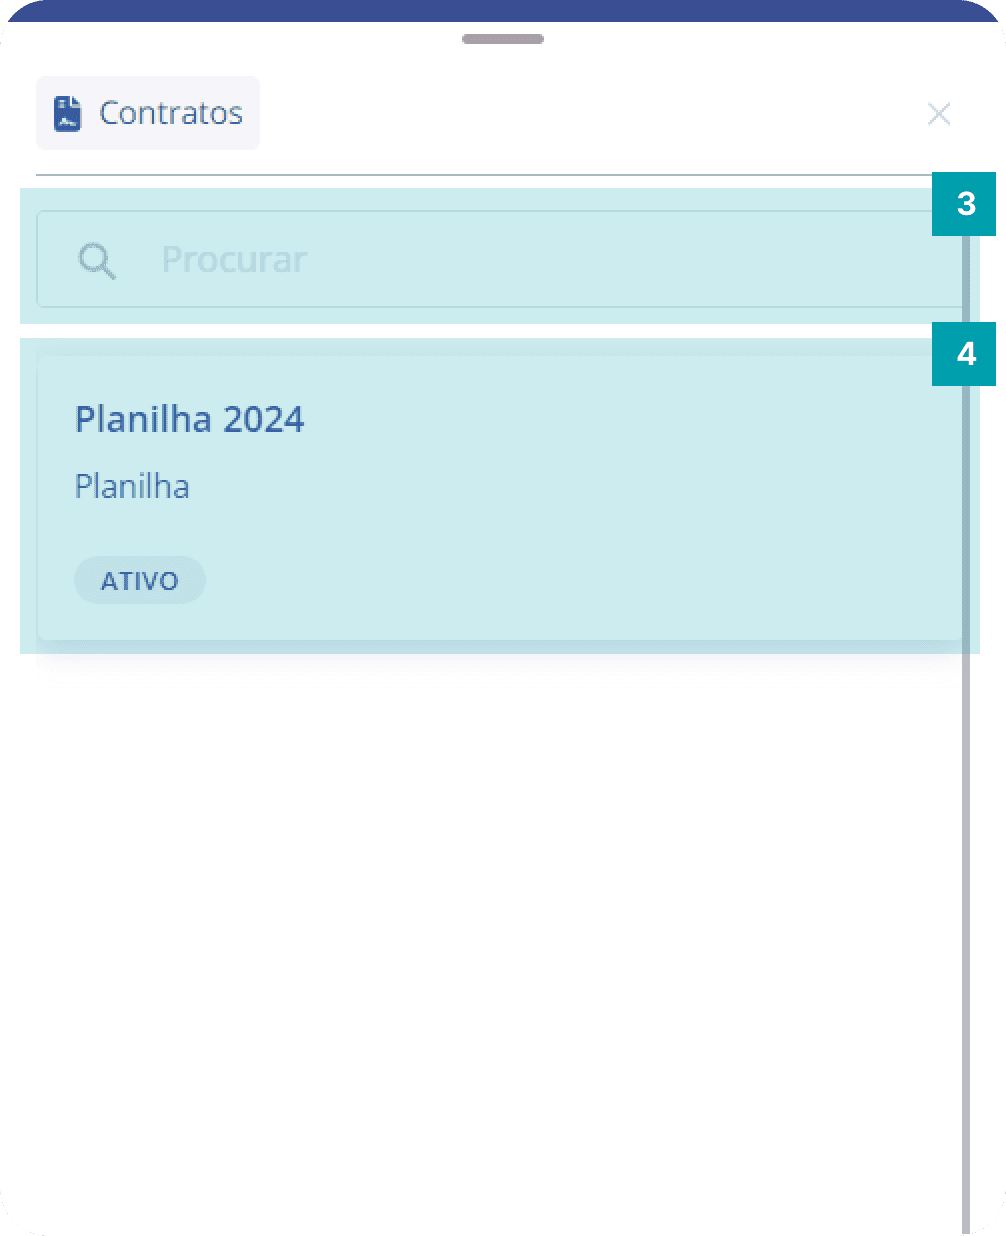
Legal documents
This modal displays the legal documents of the selected type that the unit is associated with.
Search – Click the search field and type the name of the document you want.
Legal document – Card that represents a legal document. When clicked, a legal document details modal will open.
For more information about the details of a legal document, click here.
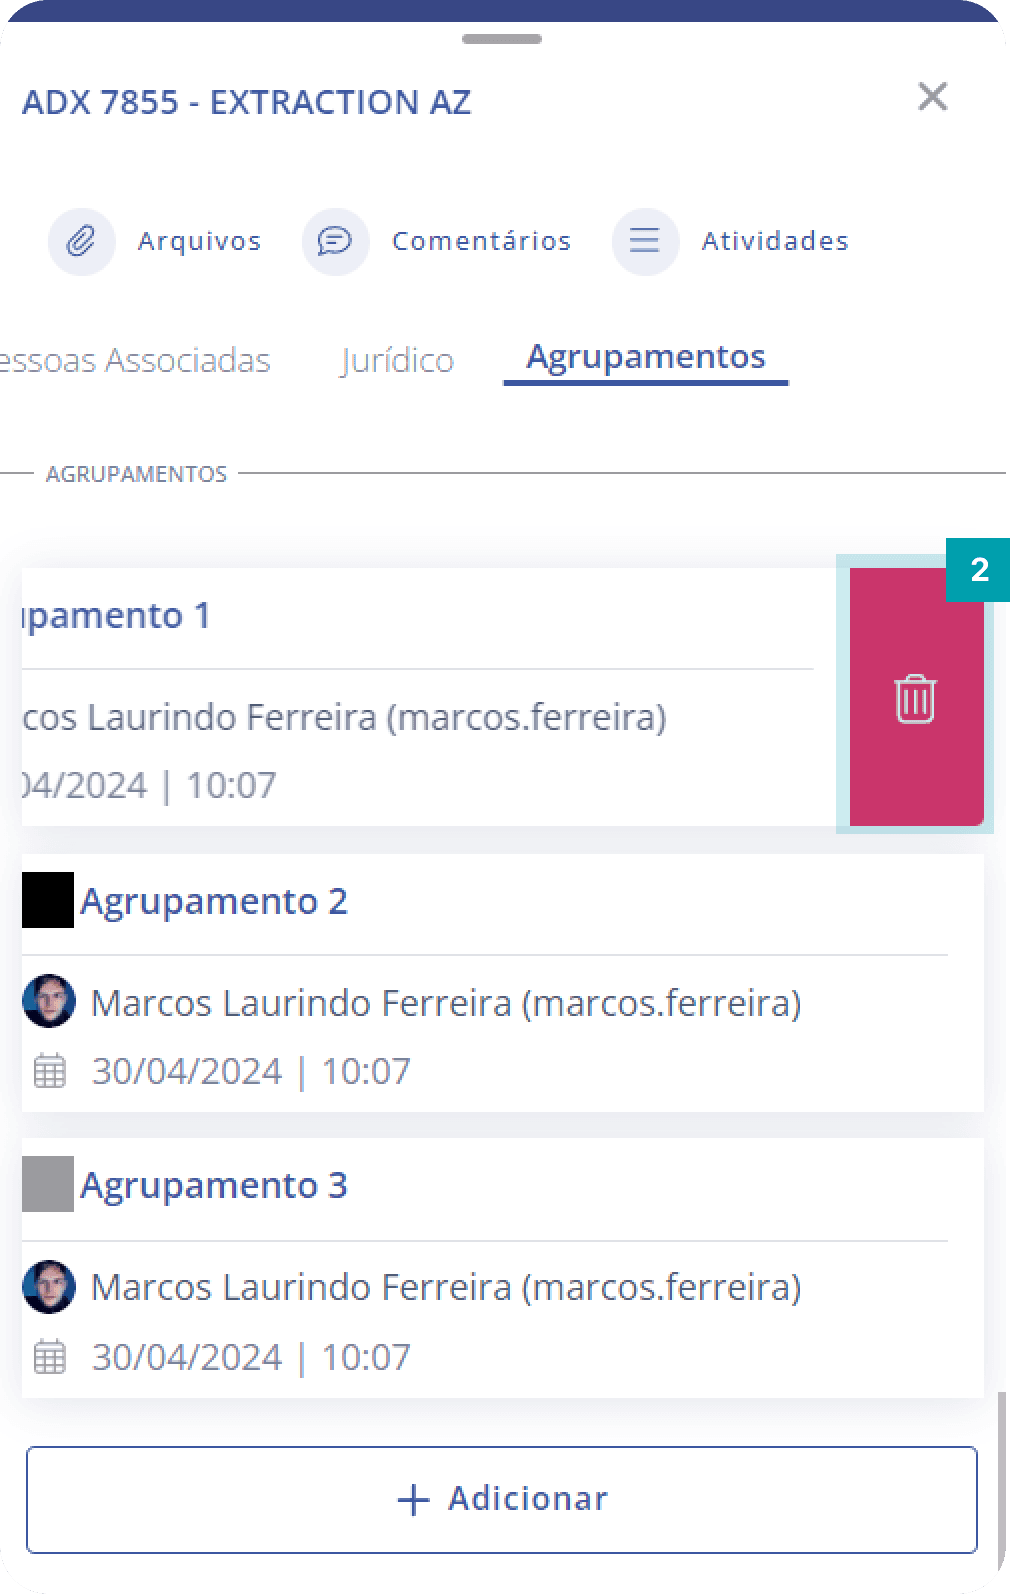
Groups panel
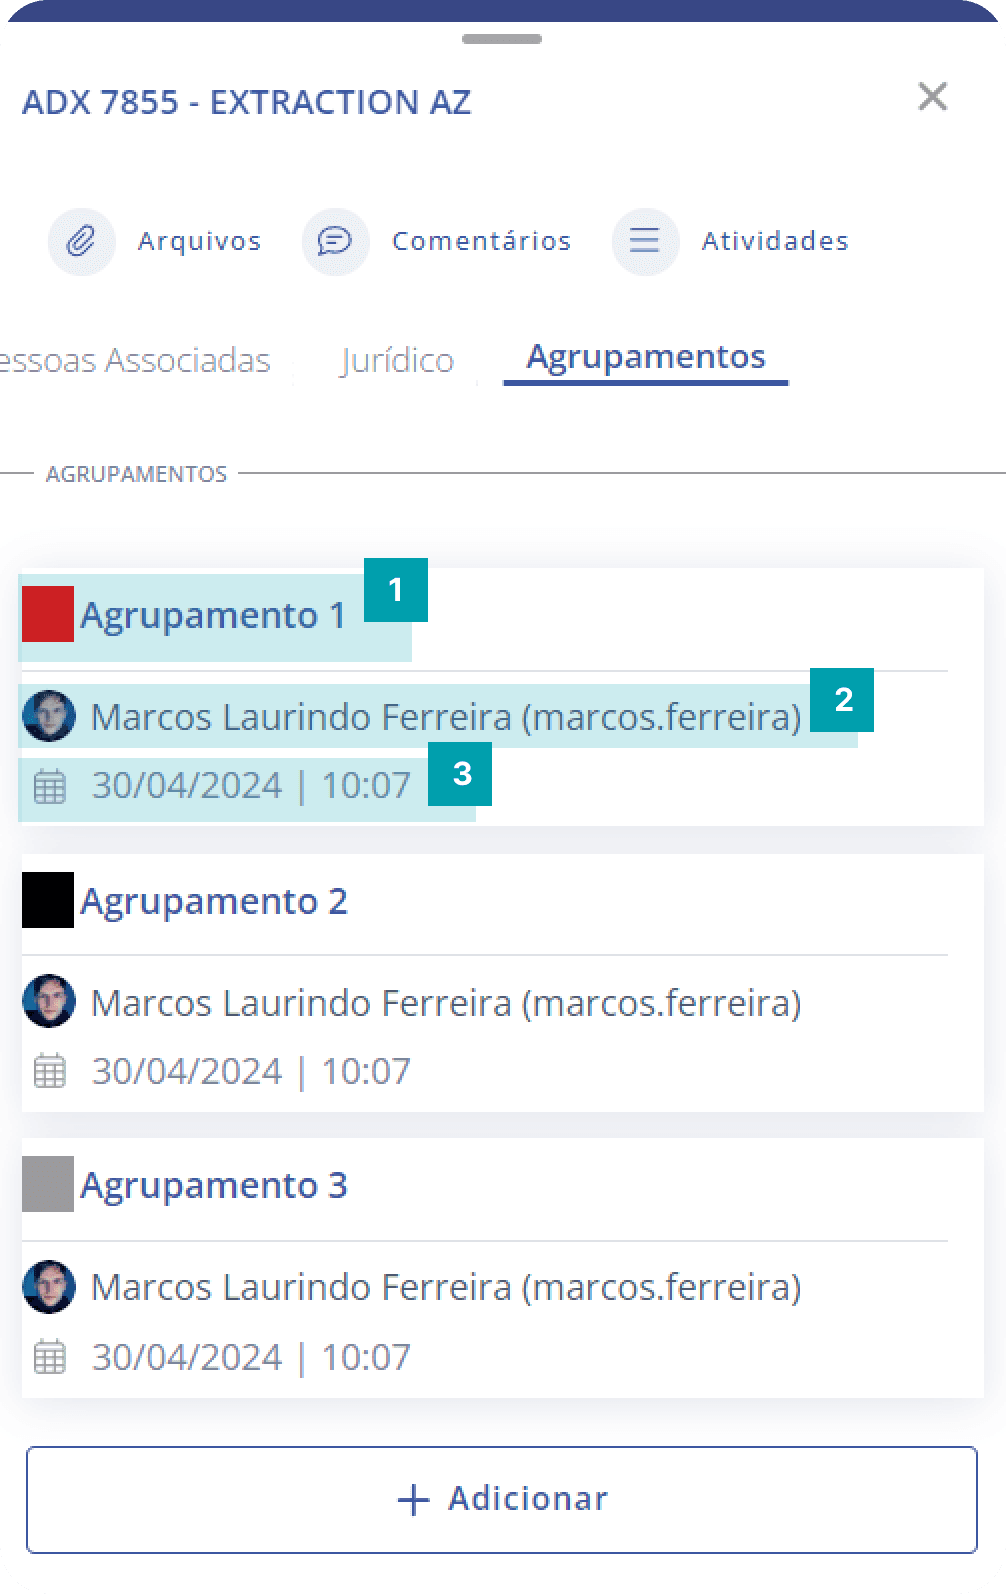
The groups panel is located just below the legal cards; its main function is to show the groups the unit belongs to. The information displayed on a group card is:
Grouping – Informs the color and title of the group.
User – Informs the user who added the group to the unit.
Date and time – Informs the date and time the group was added to the unit.
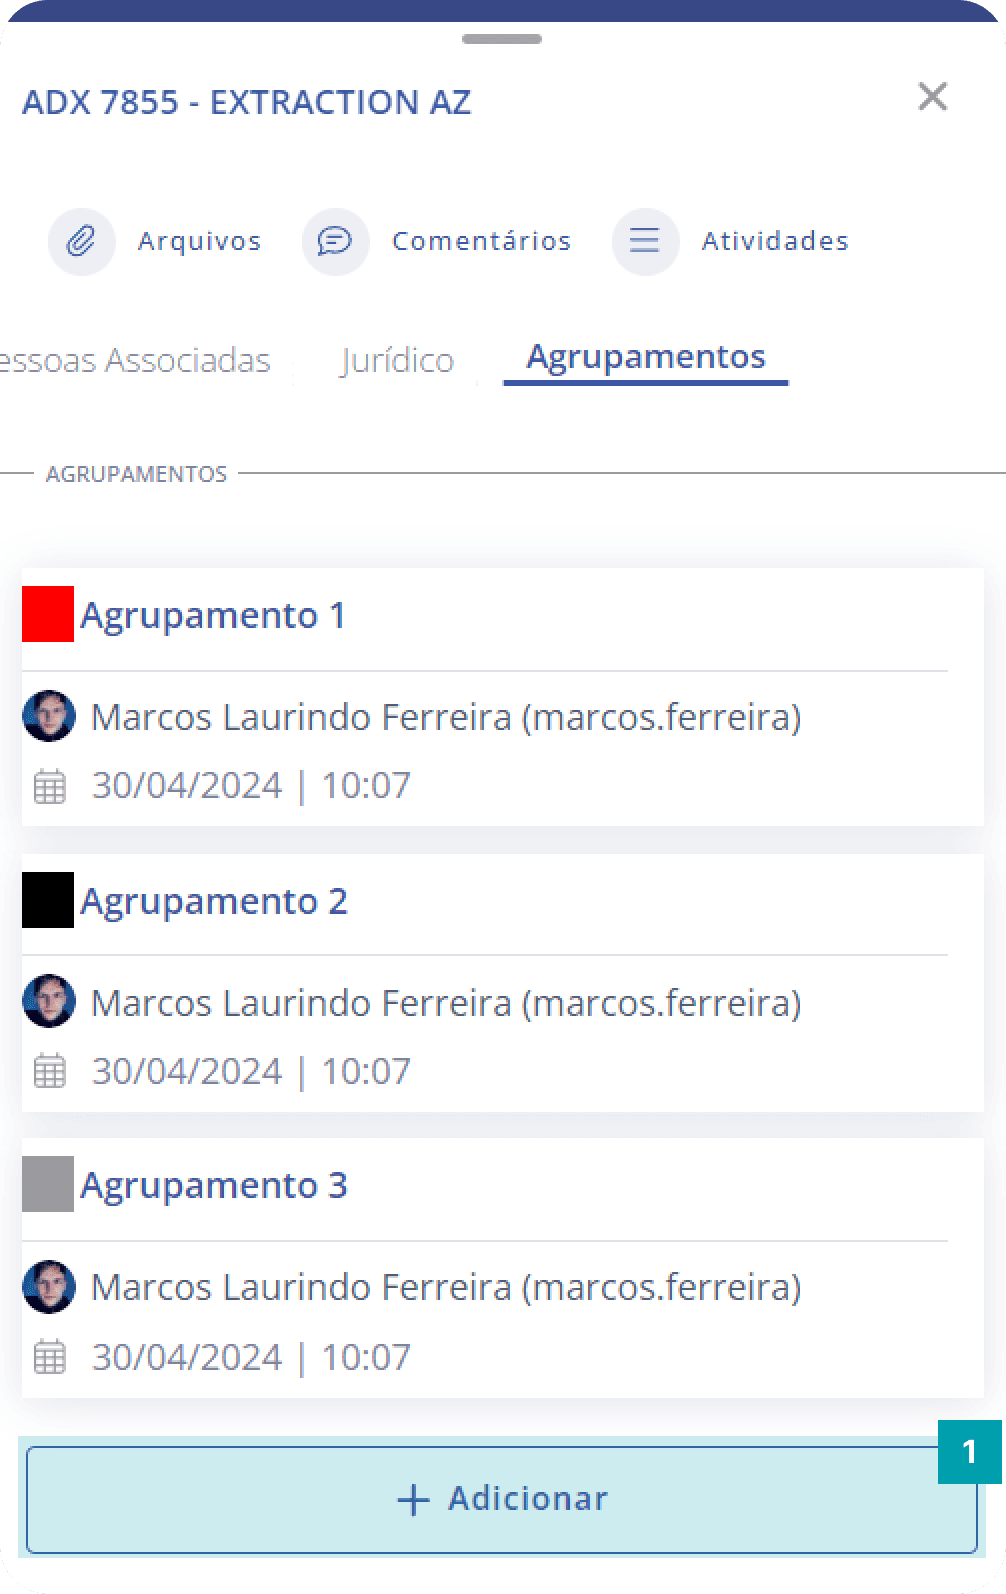
Add groups
To add one or more groups to the unit, follow these steps:
Add – Click the Add button to open the groups modal.
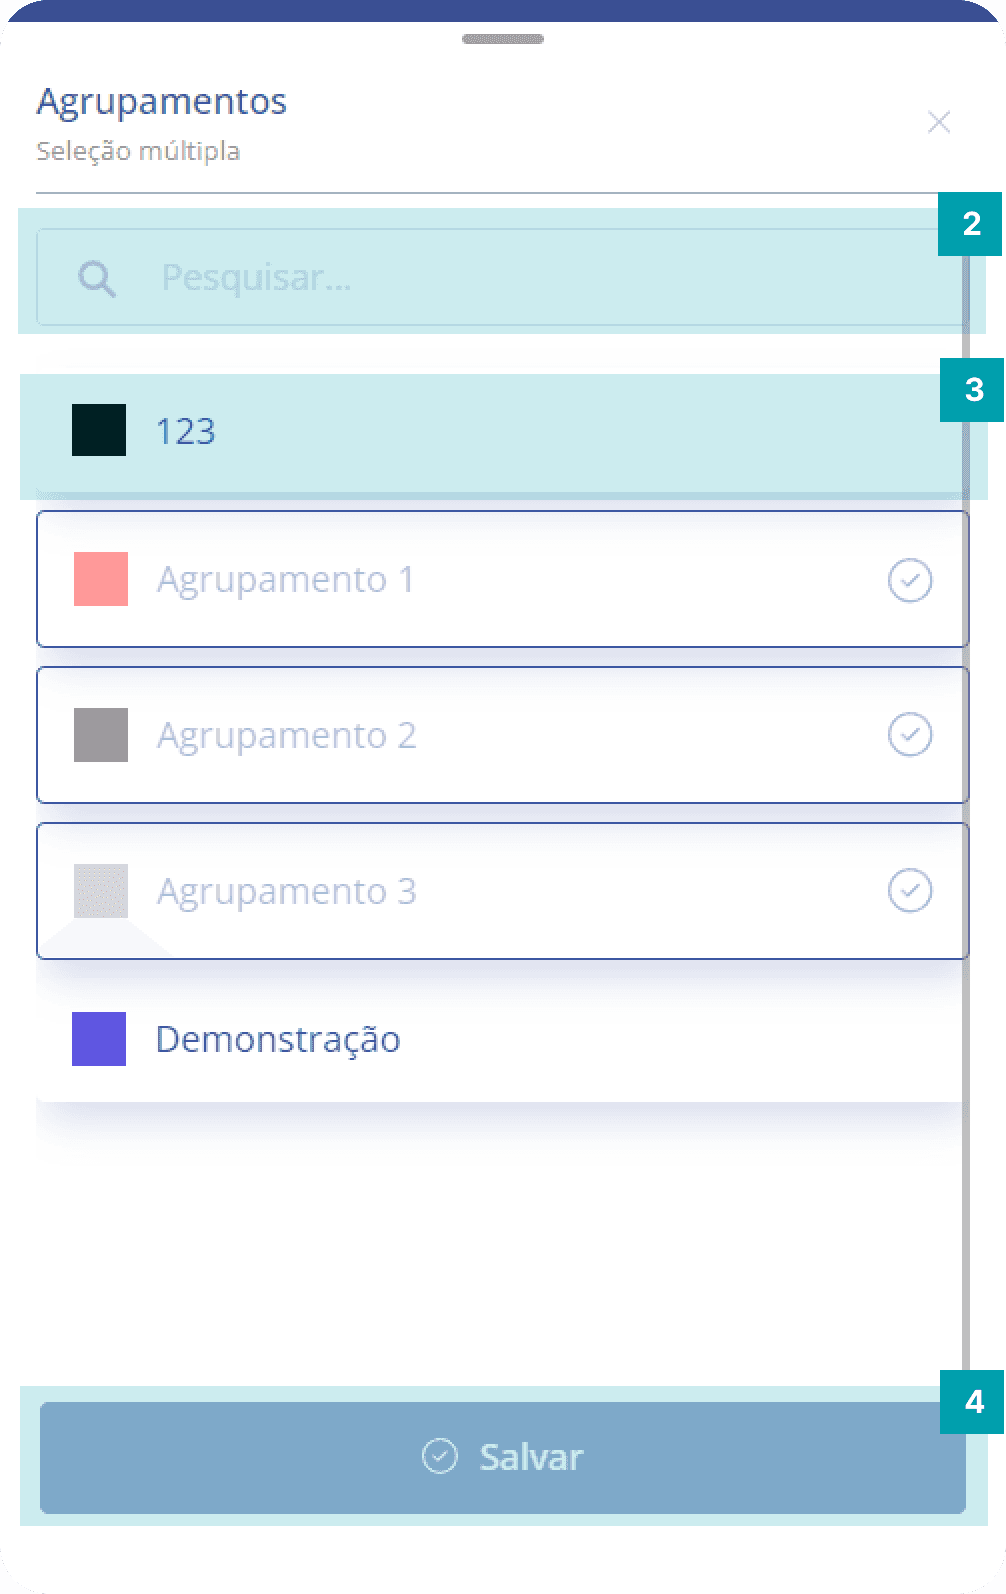
Search – Click the search field and type the name of the group you want.
Selection – Select the desired group by clicking on its area.
Save – Click the Save button to finish editing.
Remove group
Important: removing a group from the unit only disassociates it from the unit; the group continues to exist in the system and can be added again later if you wish.
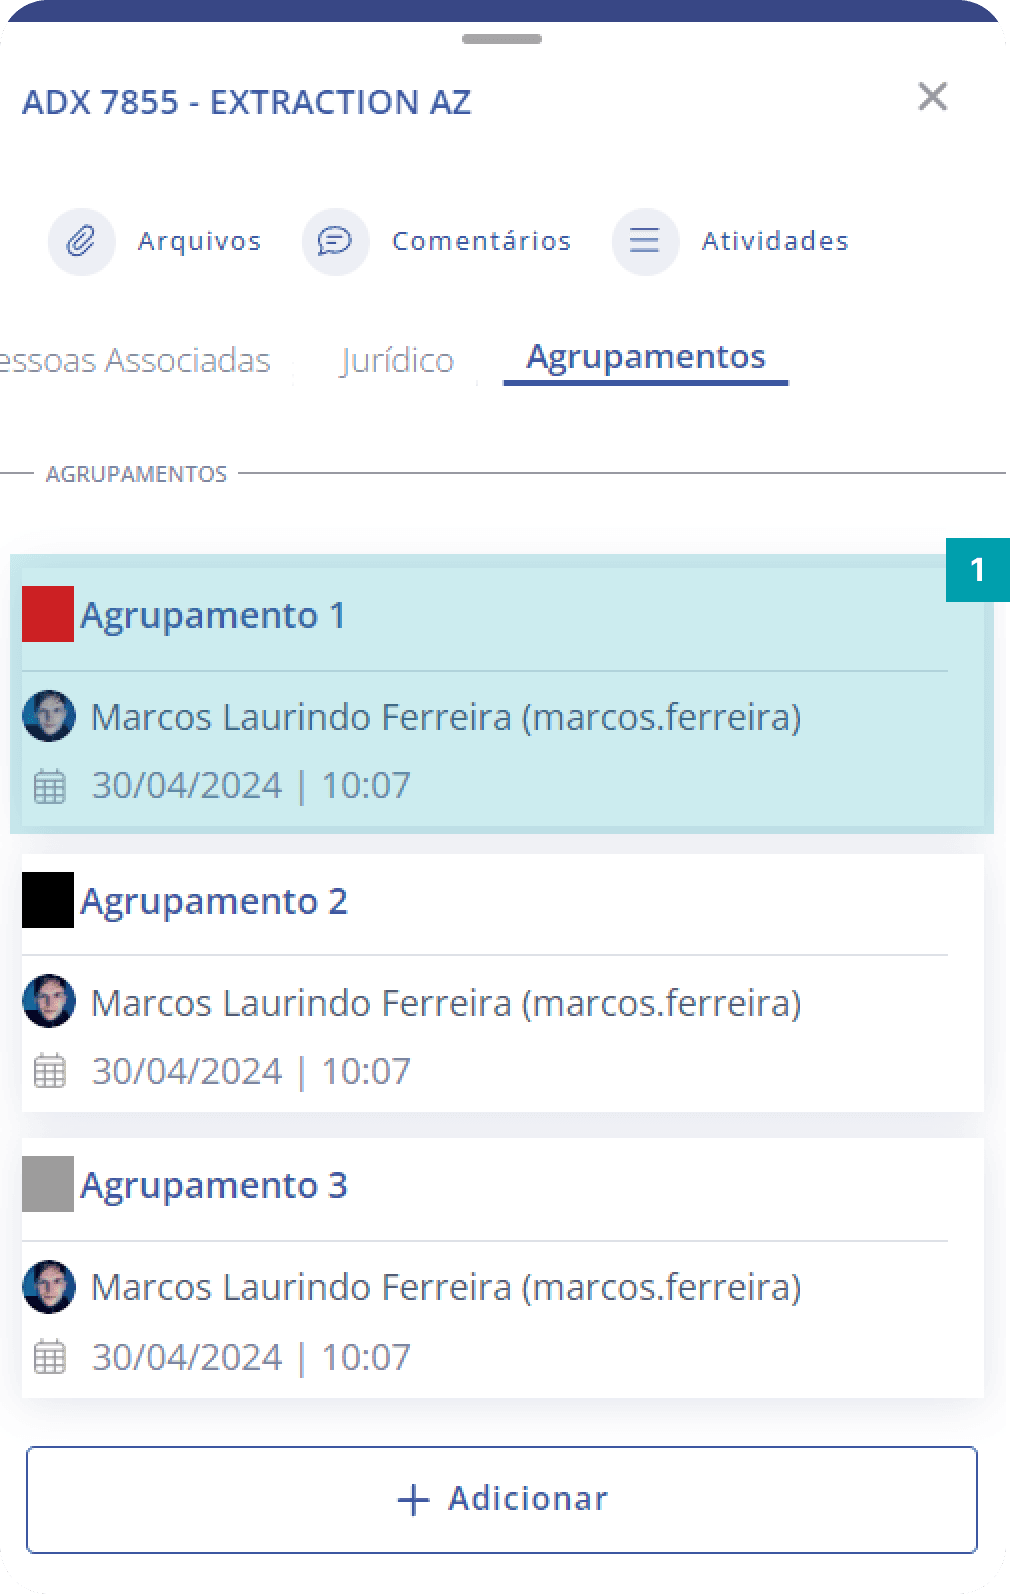
To remove a group from the unit, follow these steps:
Swipe – Swipe the group card you want to disassociate to the left and a red button with a trash icon will be displayed.
Remove – Click the red button with the trash icon to disassociate the group from the unit.
Confirmation – Message to confirm the removal of the selected group.
Cancel – Clicking this cancels the group removal action.
Remove – Clicking this confirms the removal of the group.