
Setting up two-factor authentication
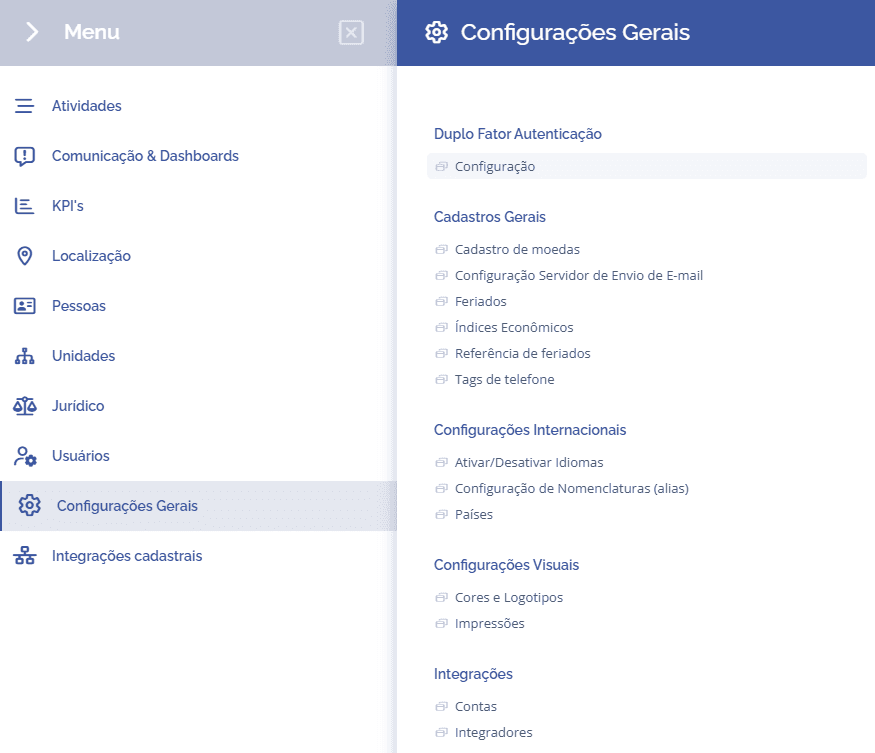
To configure two-factor authentication, open the main menu, select the General settings module, Two-factor authentication and click the Configuration: option.
Next, the two-factor authentication configuration screen will be displayed:
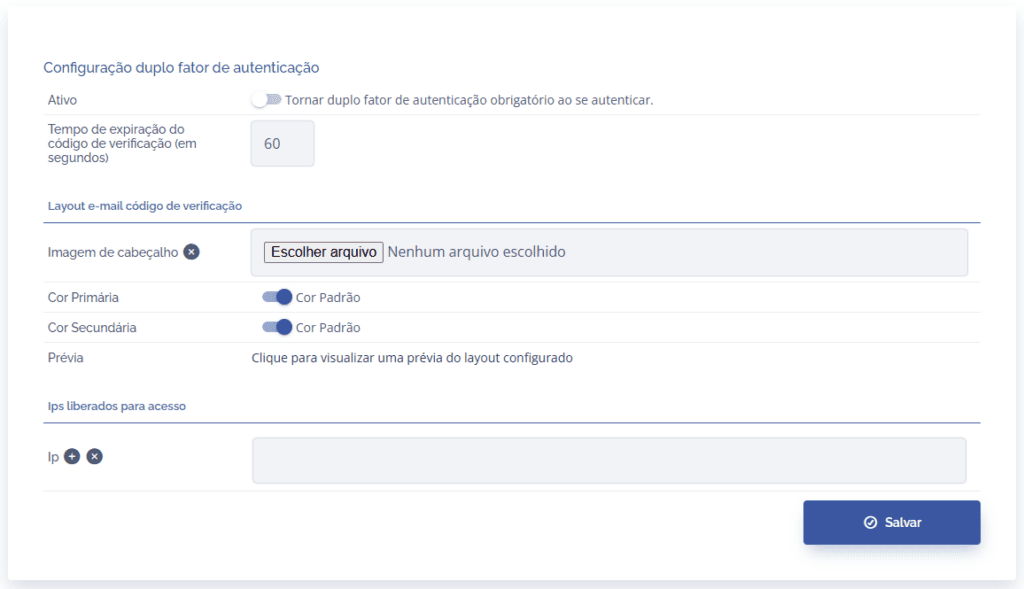
To proceed with the settings, the following items must be completed:
In the Active field, you can enable two-factor authentication, making it mandatory to access the platform, through the toggle icon.
In the Verification code expiration time (in seconds) field, you can define in seconds how long the verification code is displayed, expiring immediately after the set time.
In the Header image field, you can choose an image to upload in order to define an email layout. To do this, click Choose file.
In the Primary color field, you can Enable/disable the default display color through the toggle icon. After enabling it, choose the desired color.
In the Secondary color field, you can Enable/disable the default display color through the toggle icon. After enabling it, choose the desired color.
In the Preview field, you can view a preview of the configured layout. To do this, click the field link.
In the IP field, you can add and/or delete IPs. If you want to add more IPs, click the icon, or if you prefer to delete, click the icon
After making the settings, click the Save button.