English

Files in app activities

Search for content...

Files in app activities

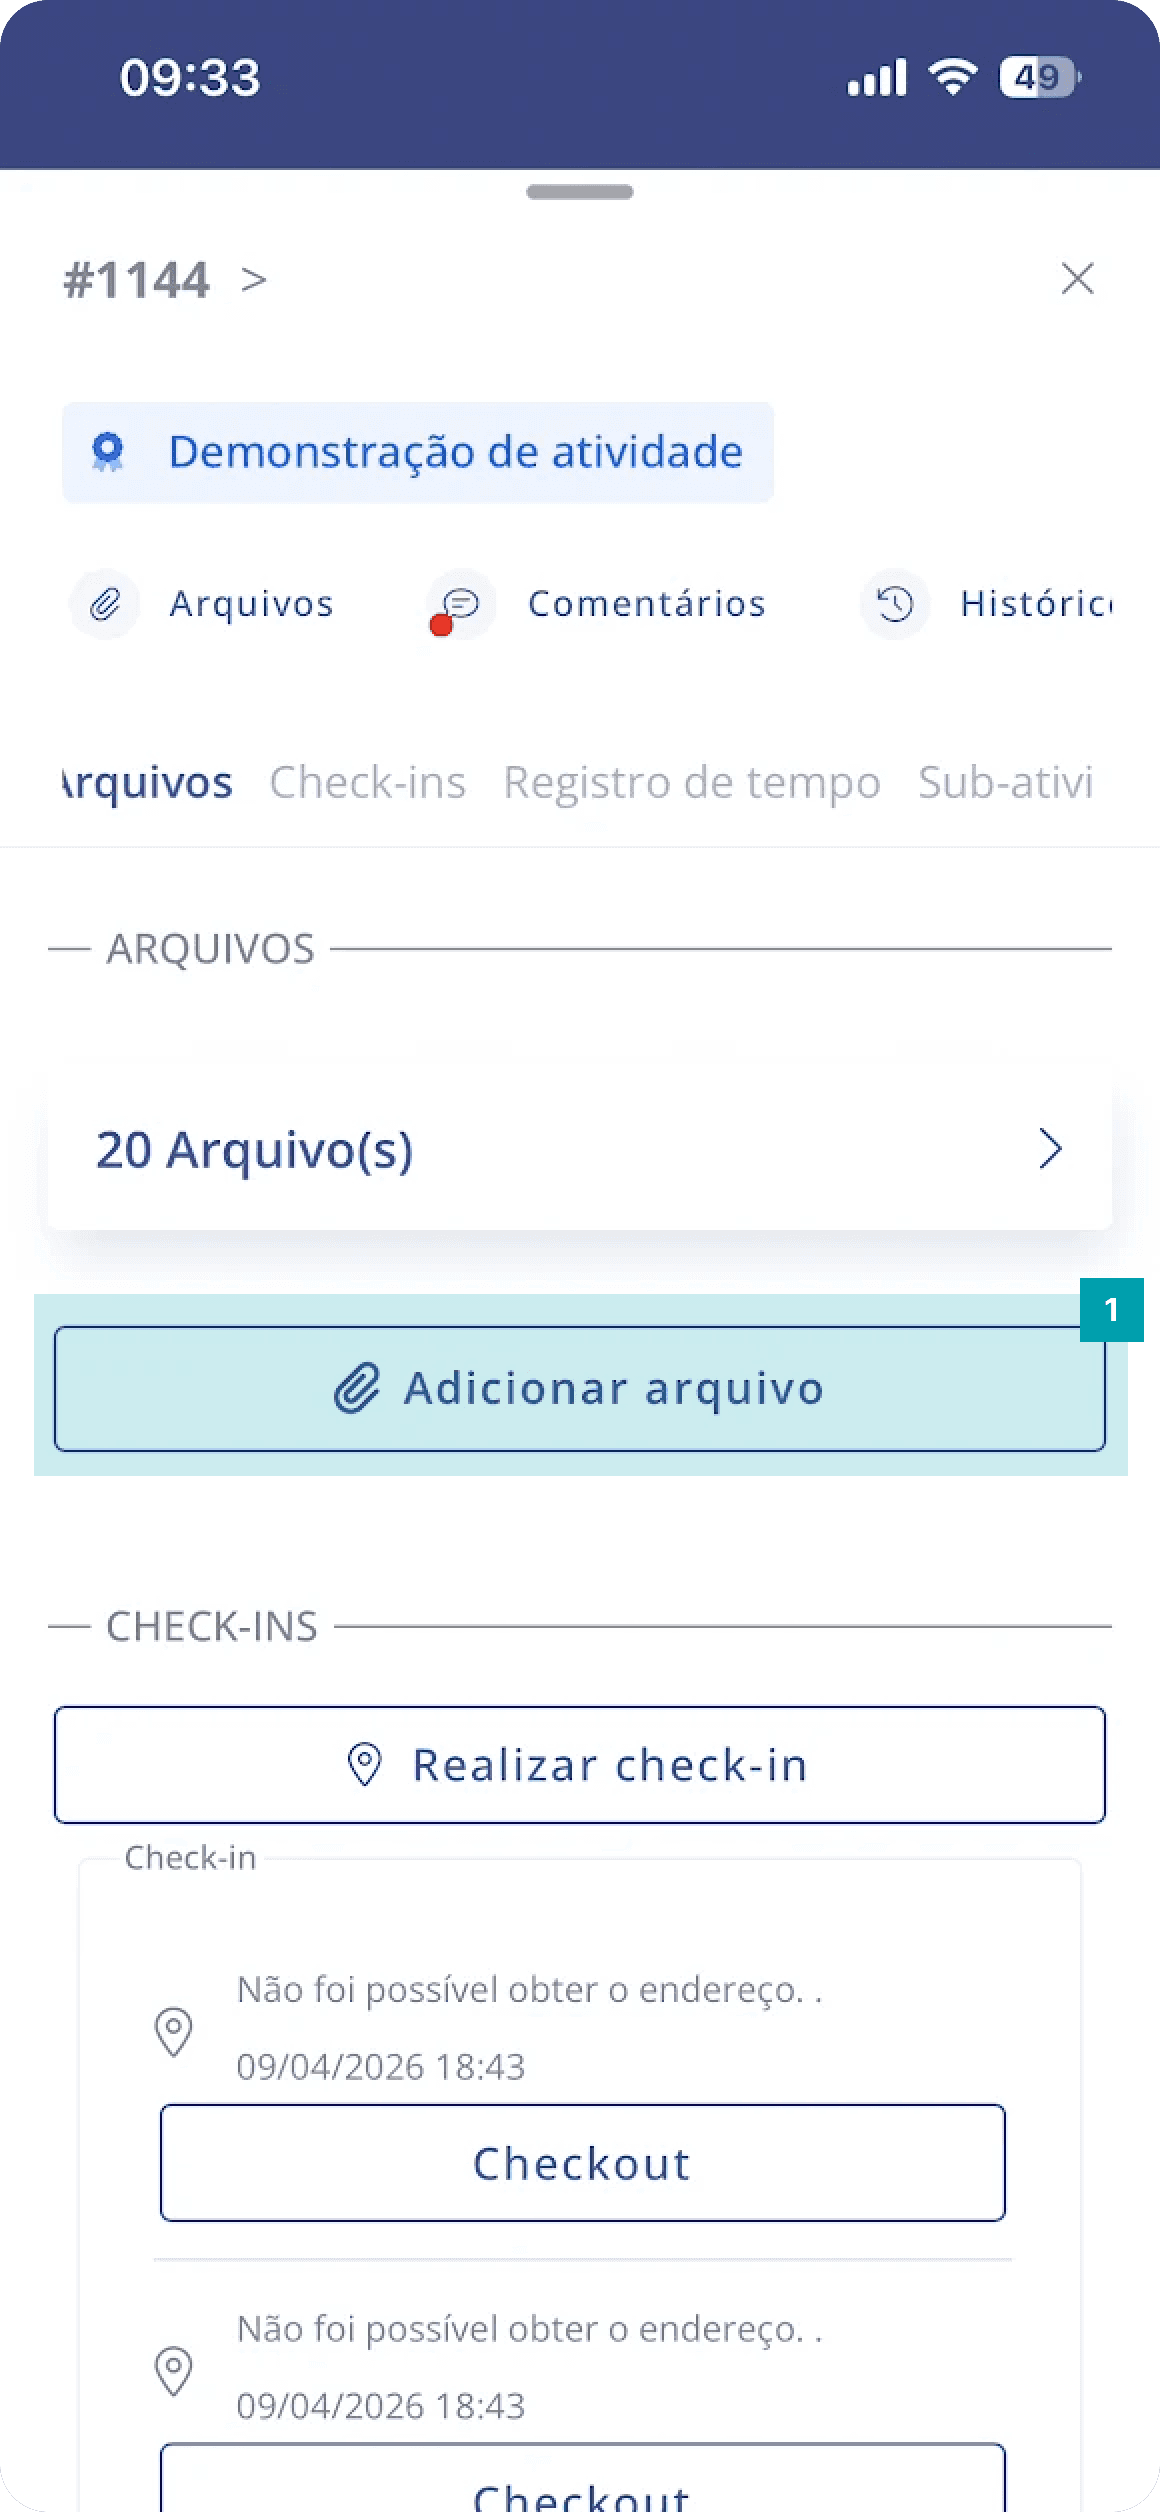
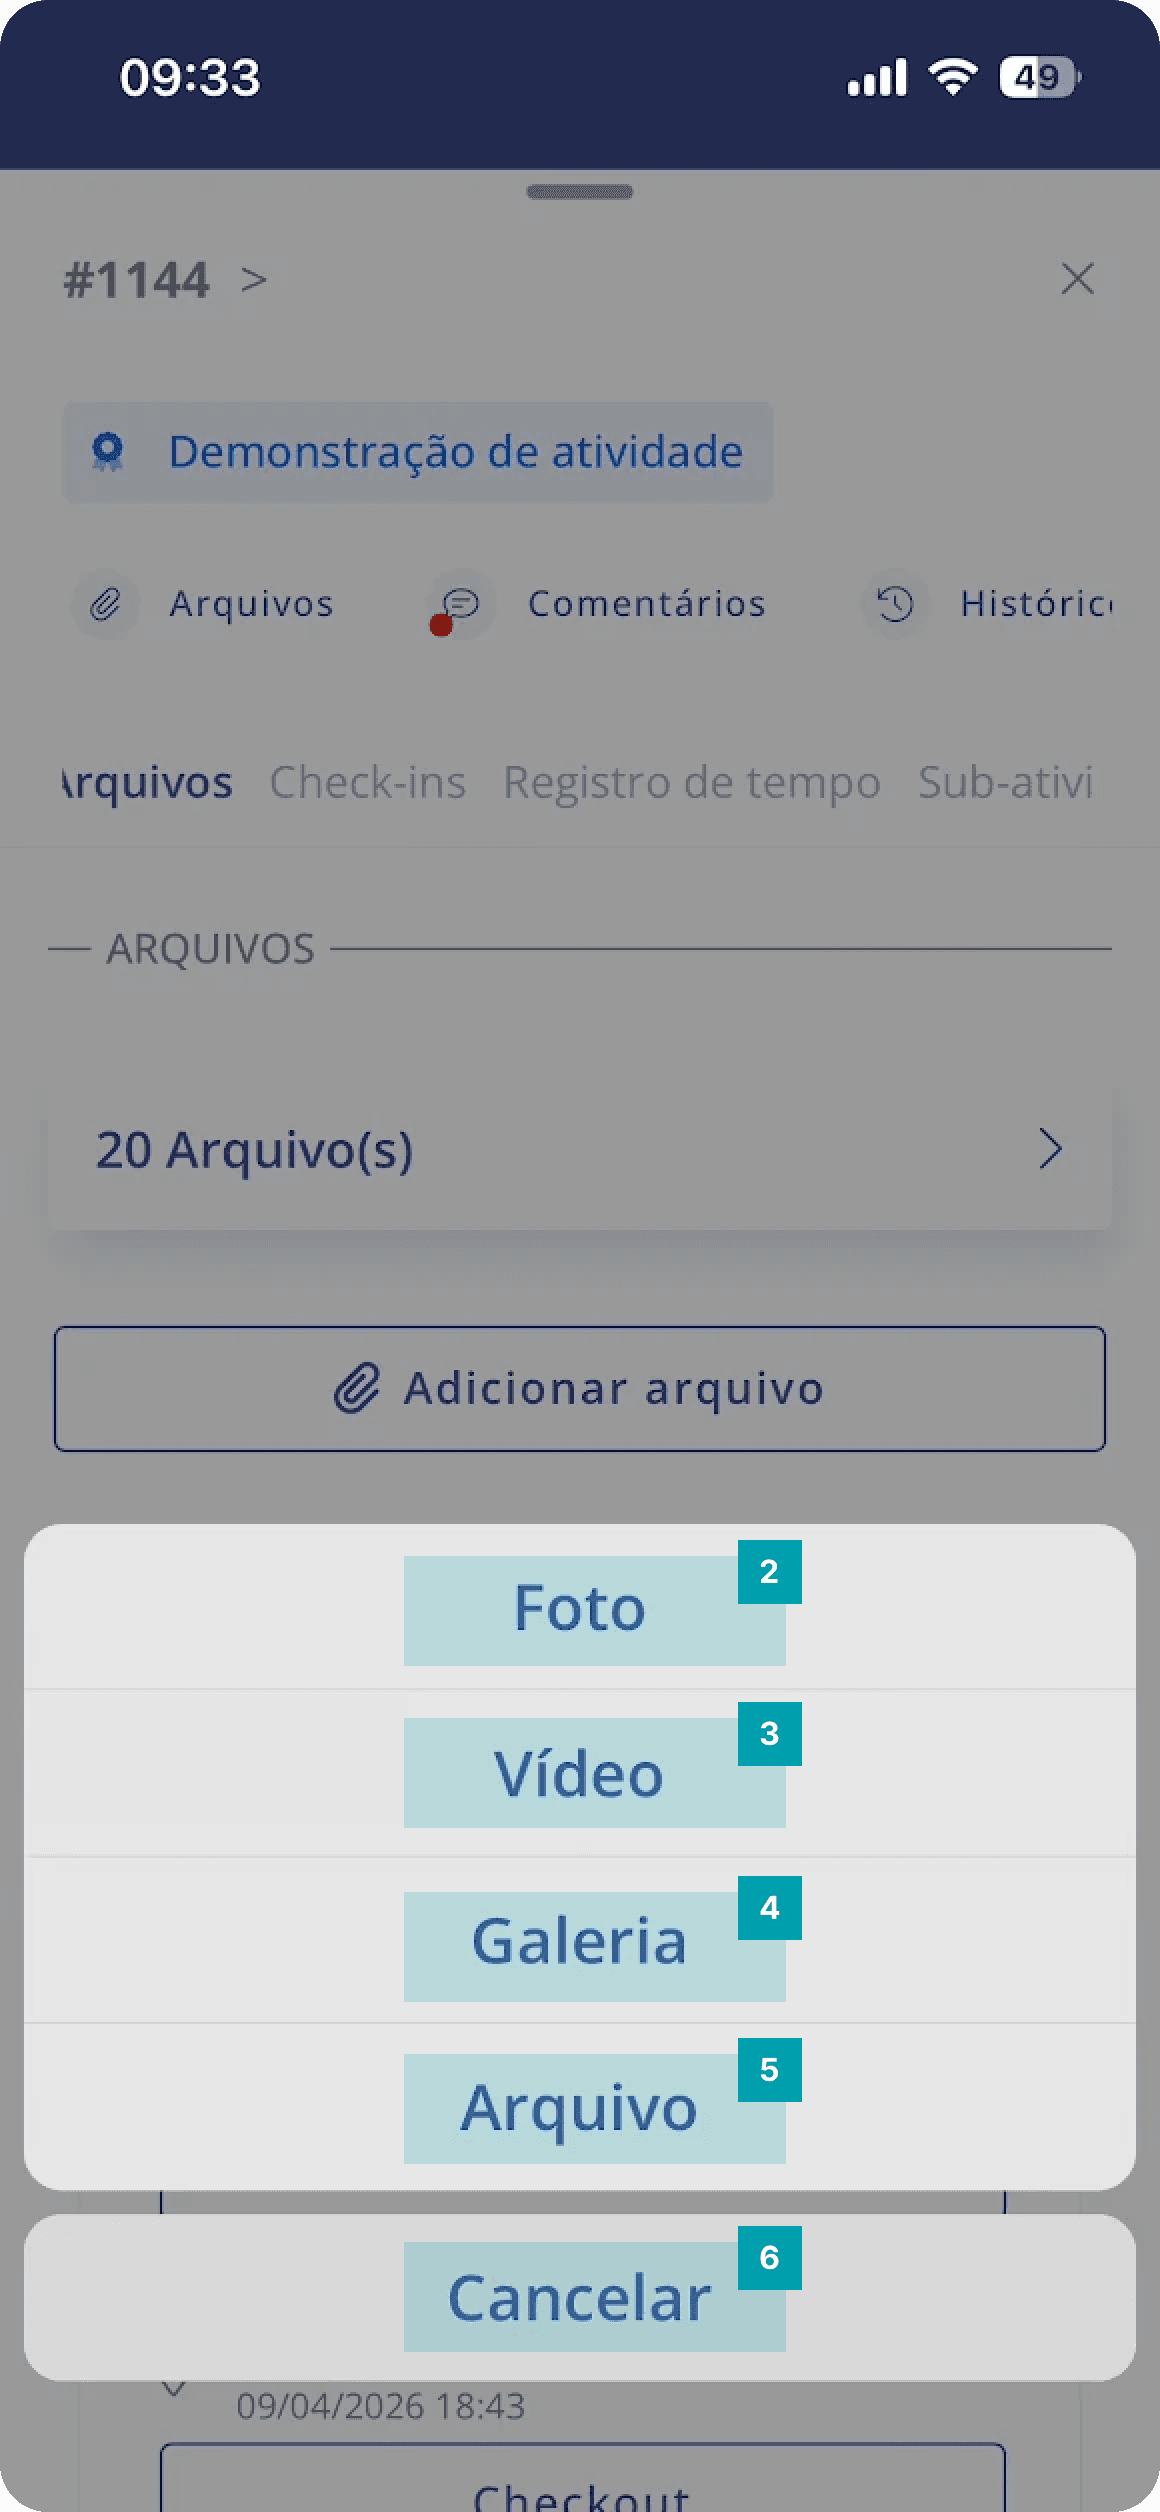
In addition to the fields that allow image uploads, the file panel may be present in an activity depending on the settings configured on the web platform. The purpose of this panel is to allow the documentation of files in various formats that help with monitoring and carrying out the activity; here you can upload photos, videos, gallery images, among others. Uploading is very simple, let's see:

FullFull
  1. Add file – Click the button to open the file upload sub-menu.

  2. Photo – This button allows you to take a photo in real time and upload it.

  3. Video – This button allows you to record a video in real time and upload the recorded file.

  4. Gallery – This button allows you to search for, insert, and upload a file stored in the device's memory.

  5. File – This button opens the device's file folder, allowing you to upload a file.

  6. Cancel – This button cancels the file upload action.


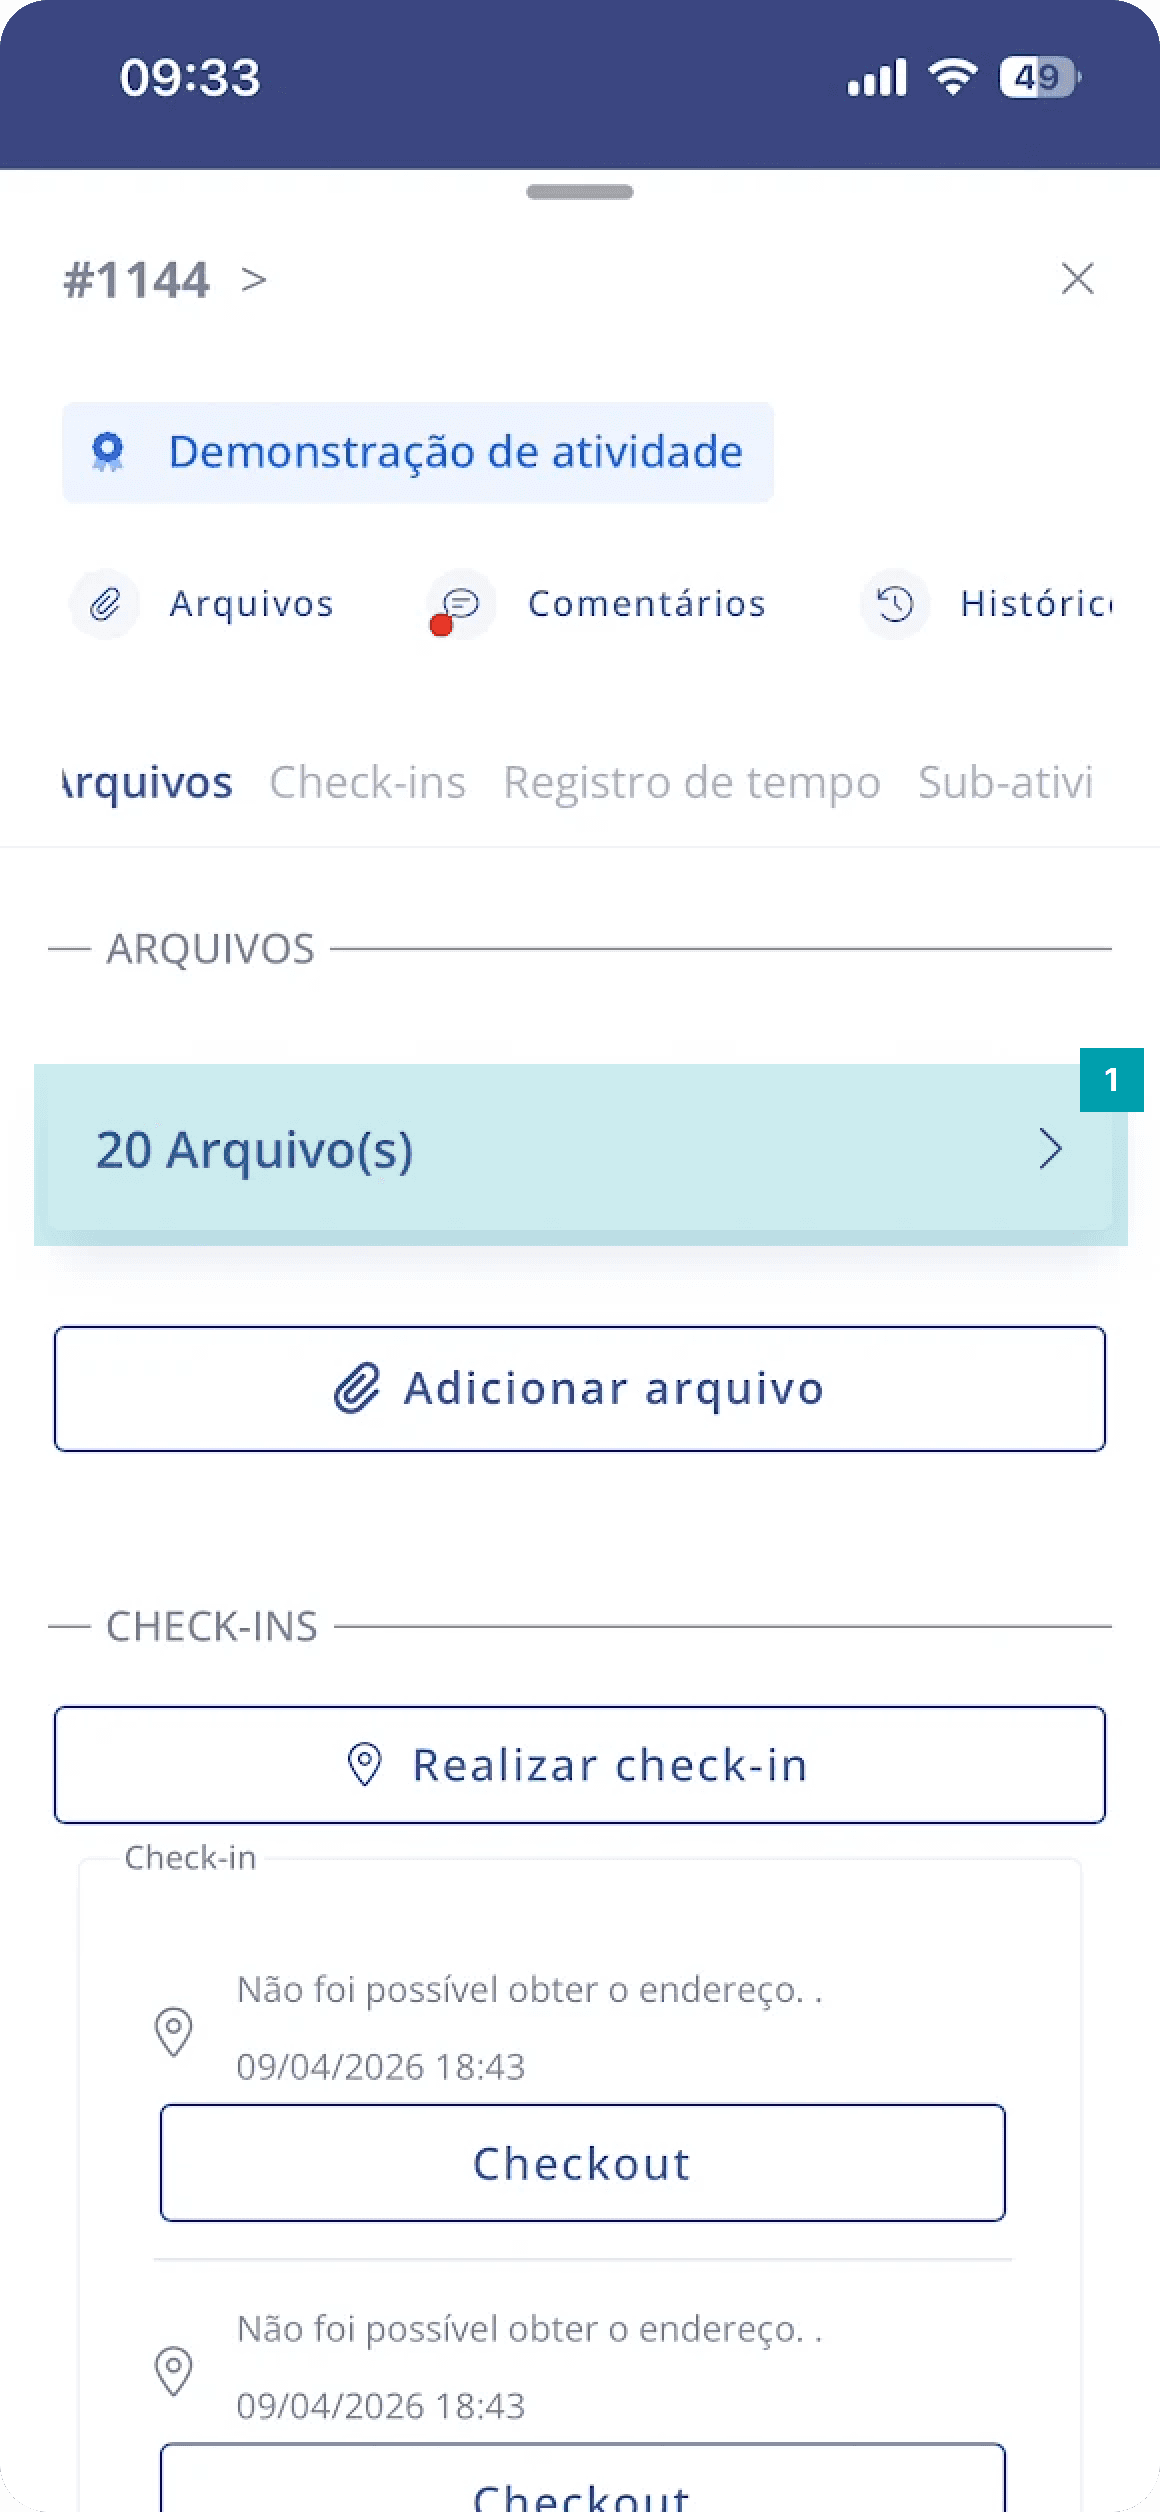
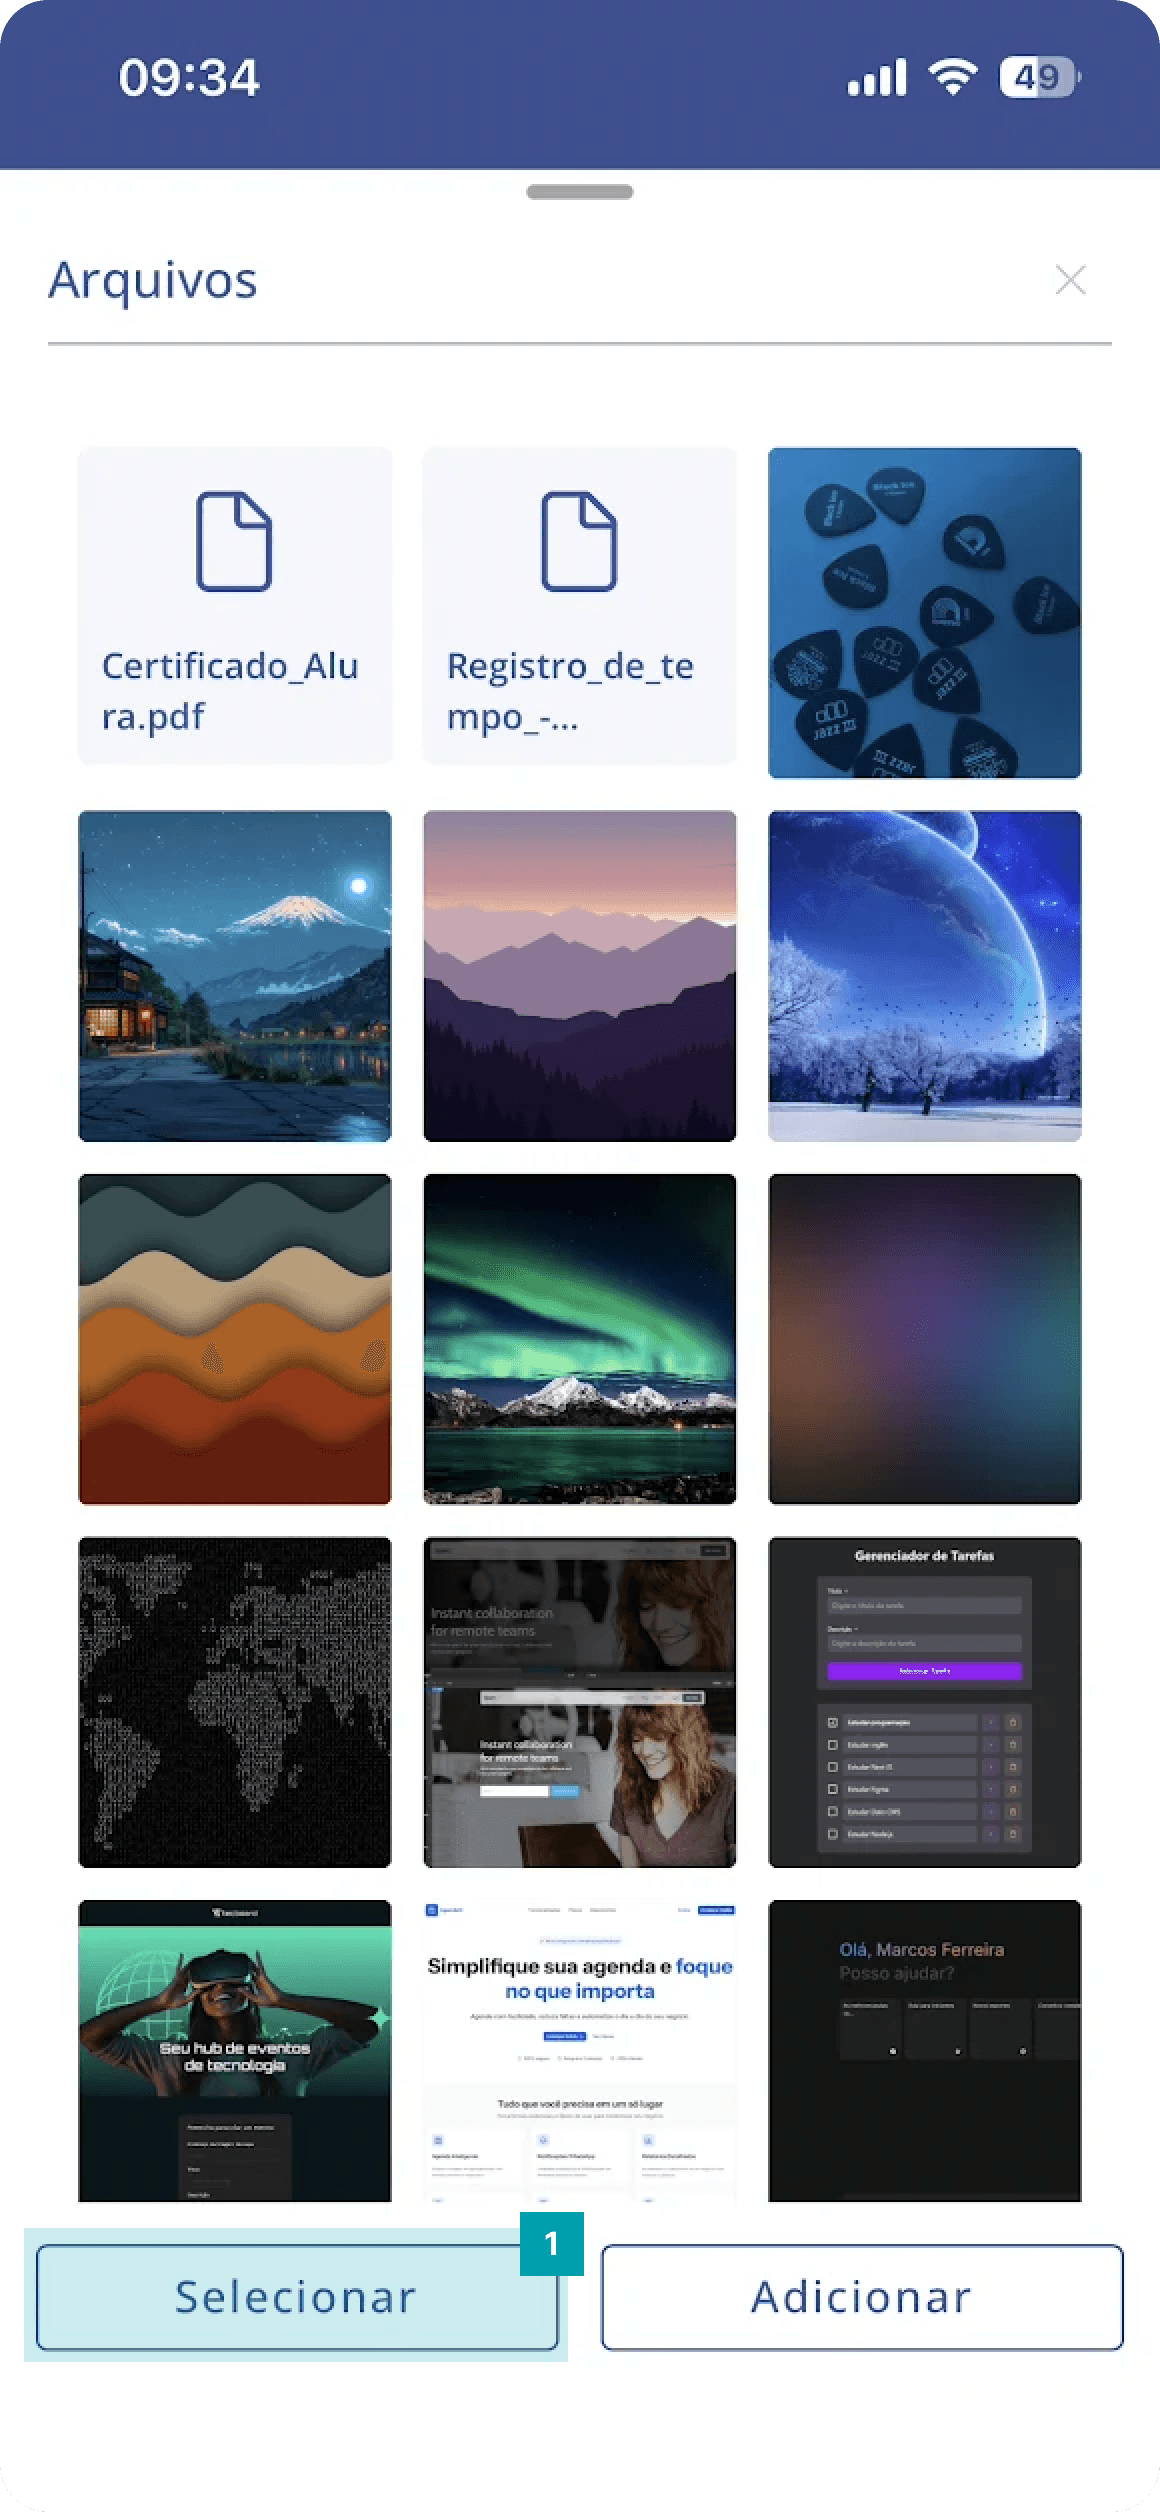
Accessing the uploaded files screen

Full
  1. Files – Click the button to open the activity files modal.

  1. Select – Click the Select button to select one or more files.

  1. Add – Click the Add button to open the file upload sub-menu.


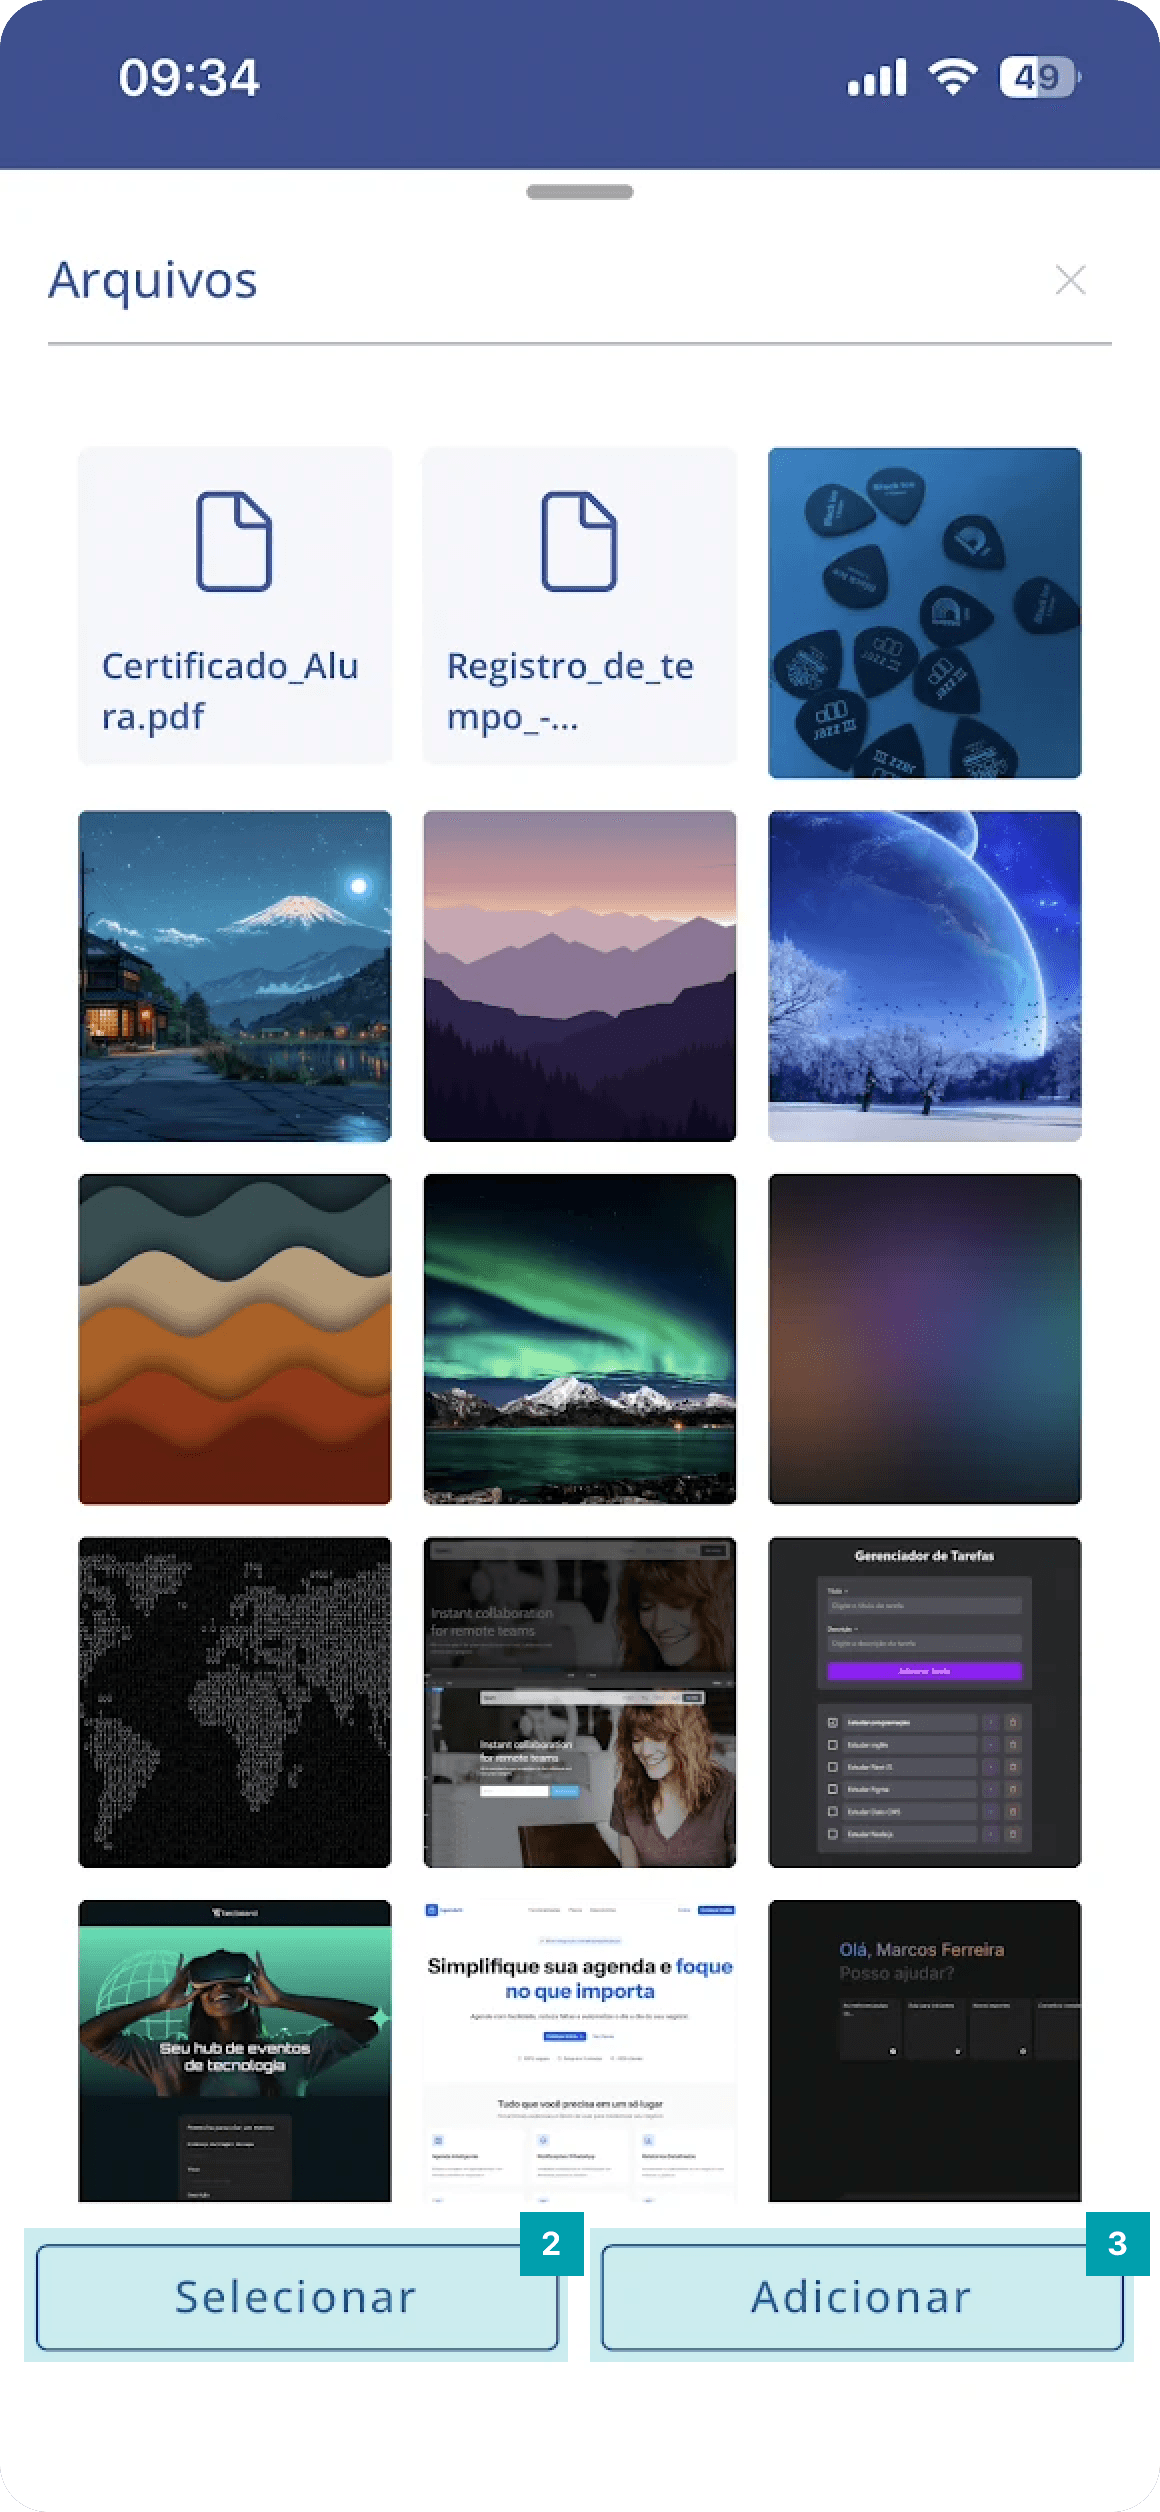
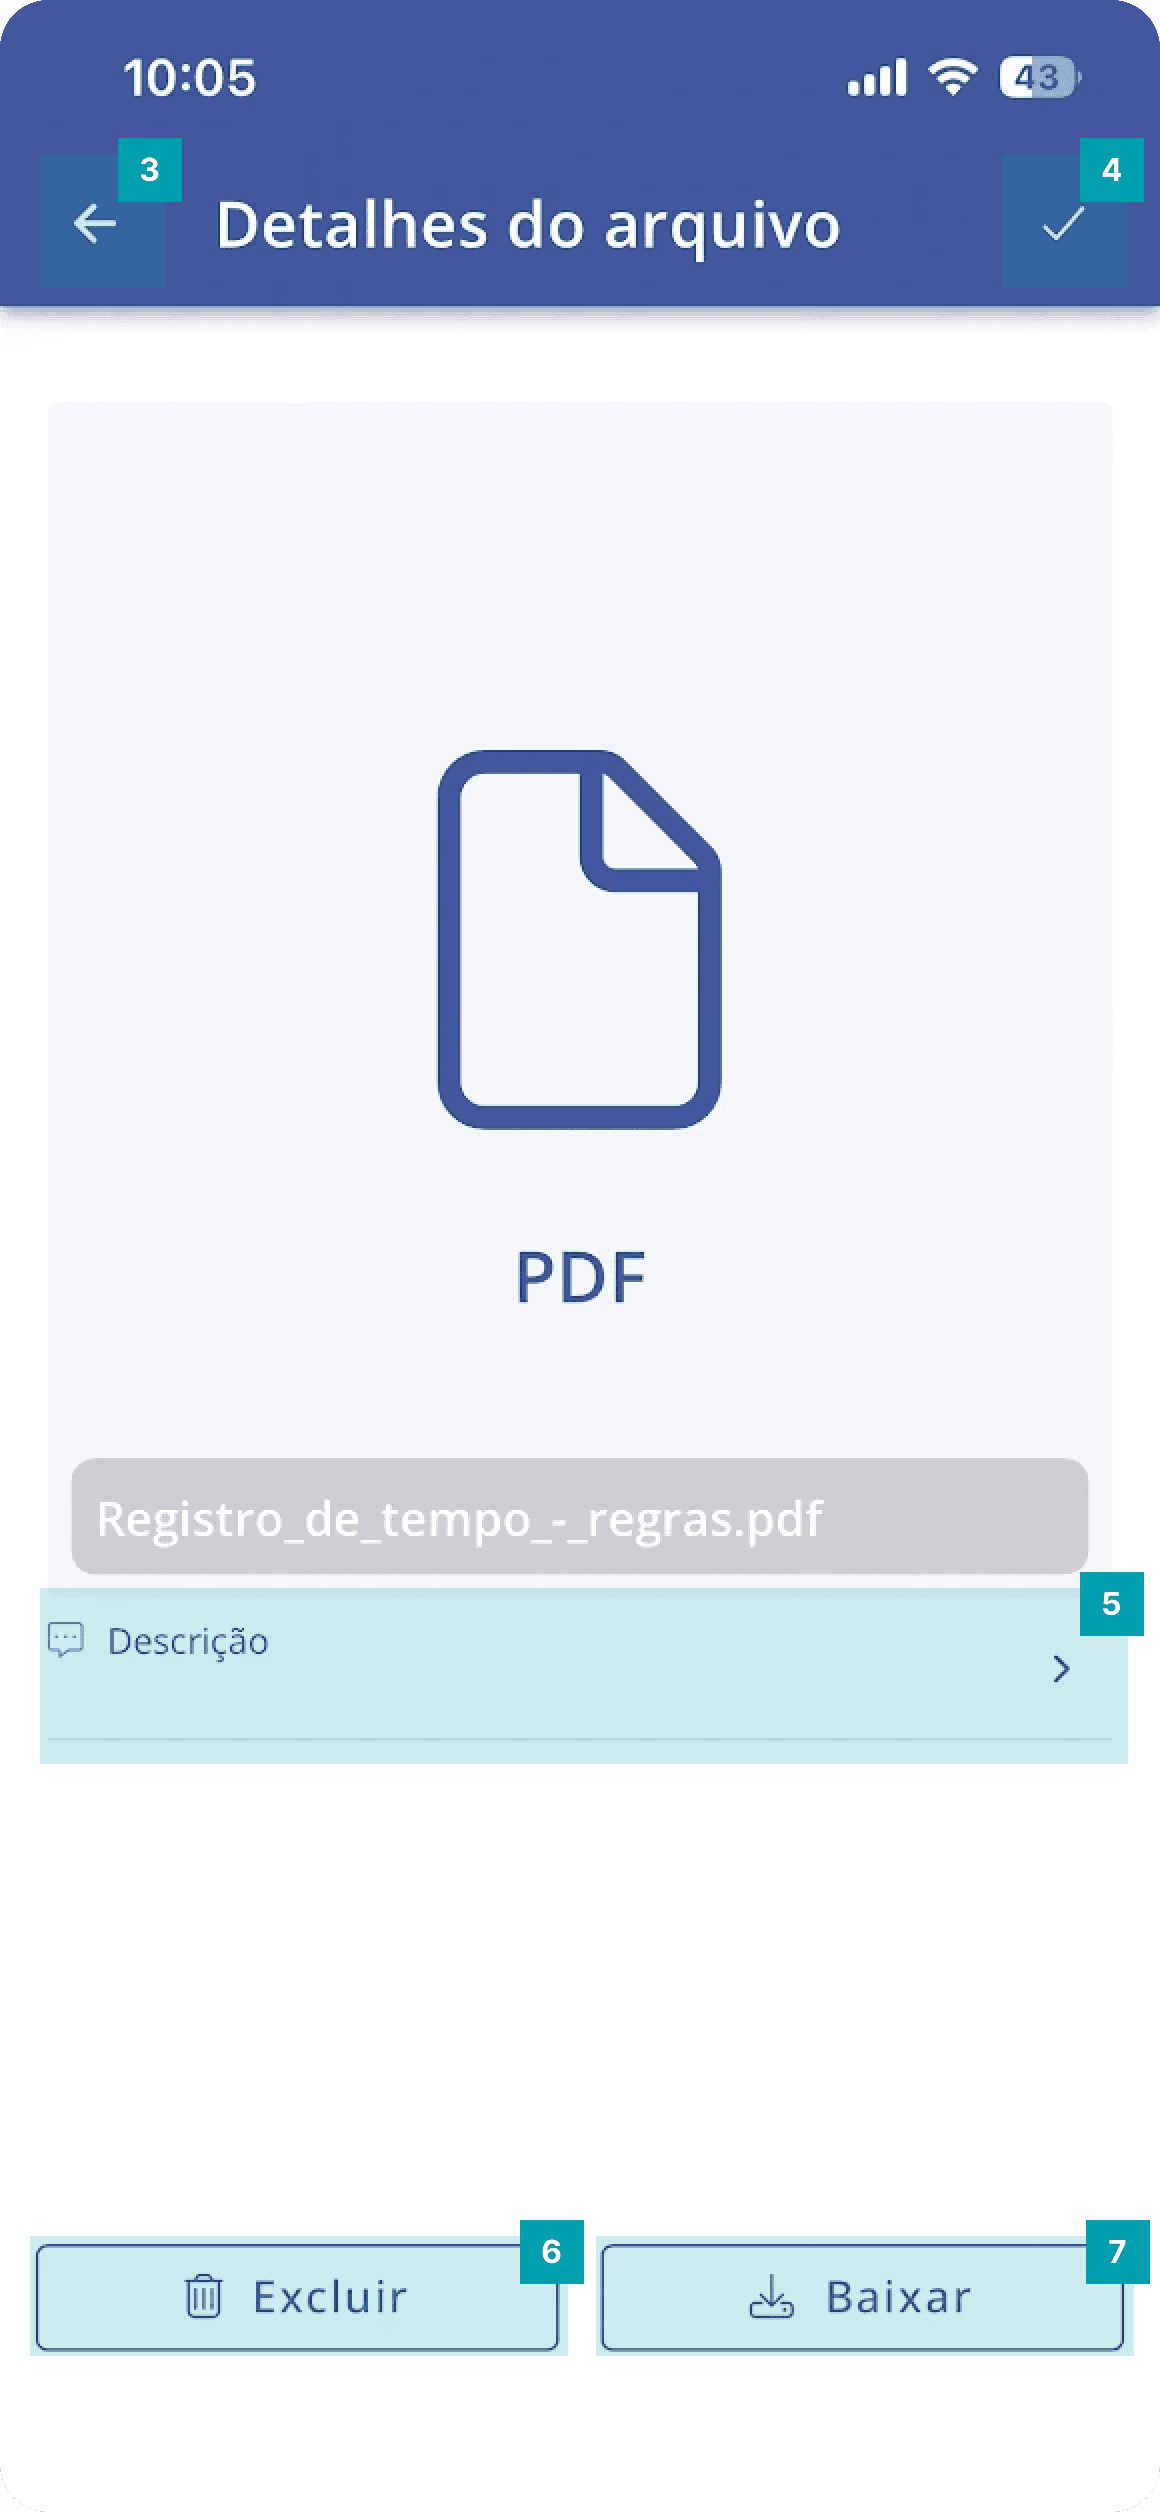
Accessing file details

FullFullFull
  1. Files – Click the button to open the activity files modal.

  1. File – Click the desired file to access the detail screen for the selected file

  1. Back – Click to return to the previous activity files screen.

  2. Confirm – Click to confirm the changes made to the file.

  3. Description – Click to define a description for the file.

  4. Delete – Click to delete the file.

  5. Download – Click to download the file to your device.


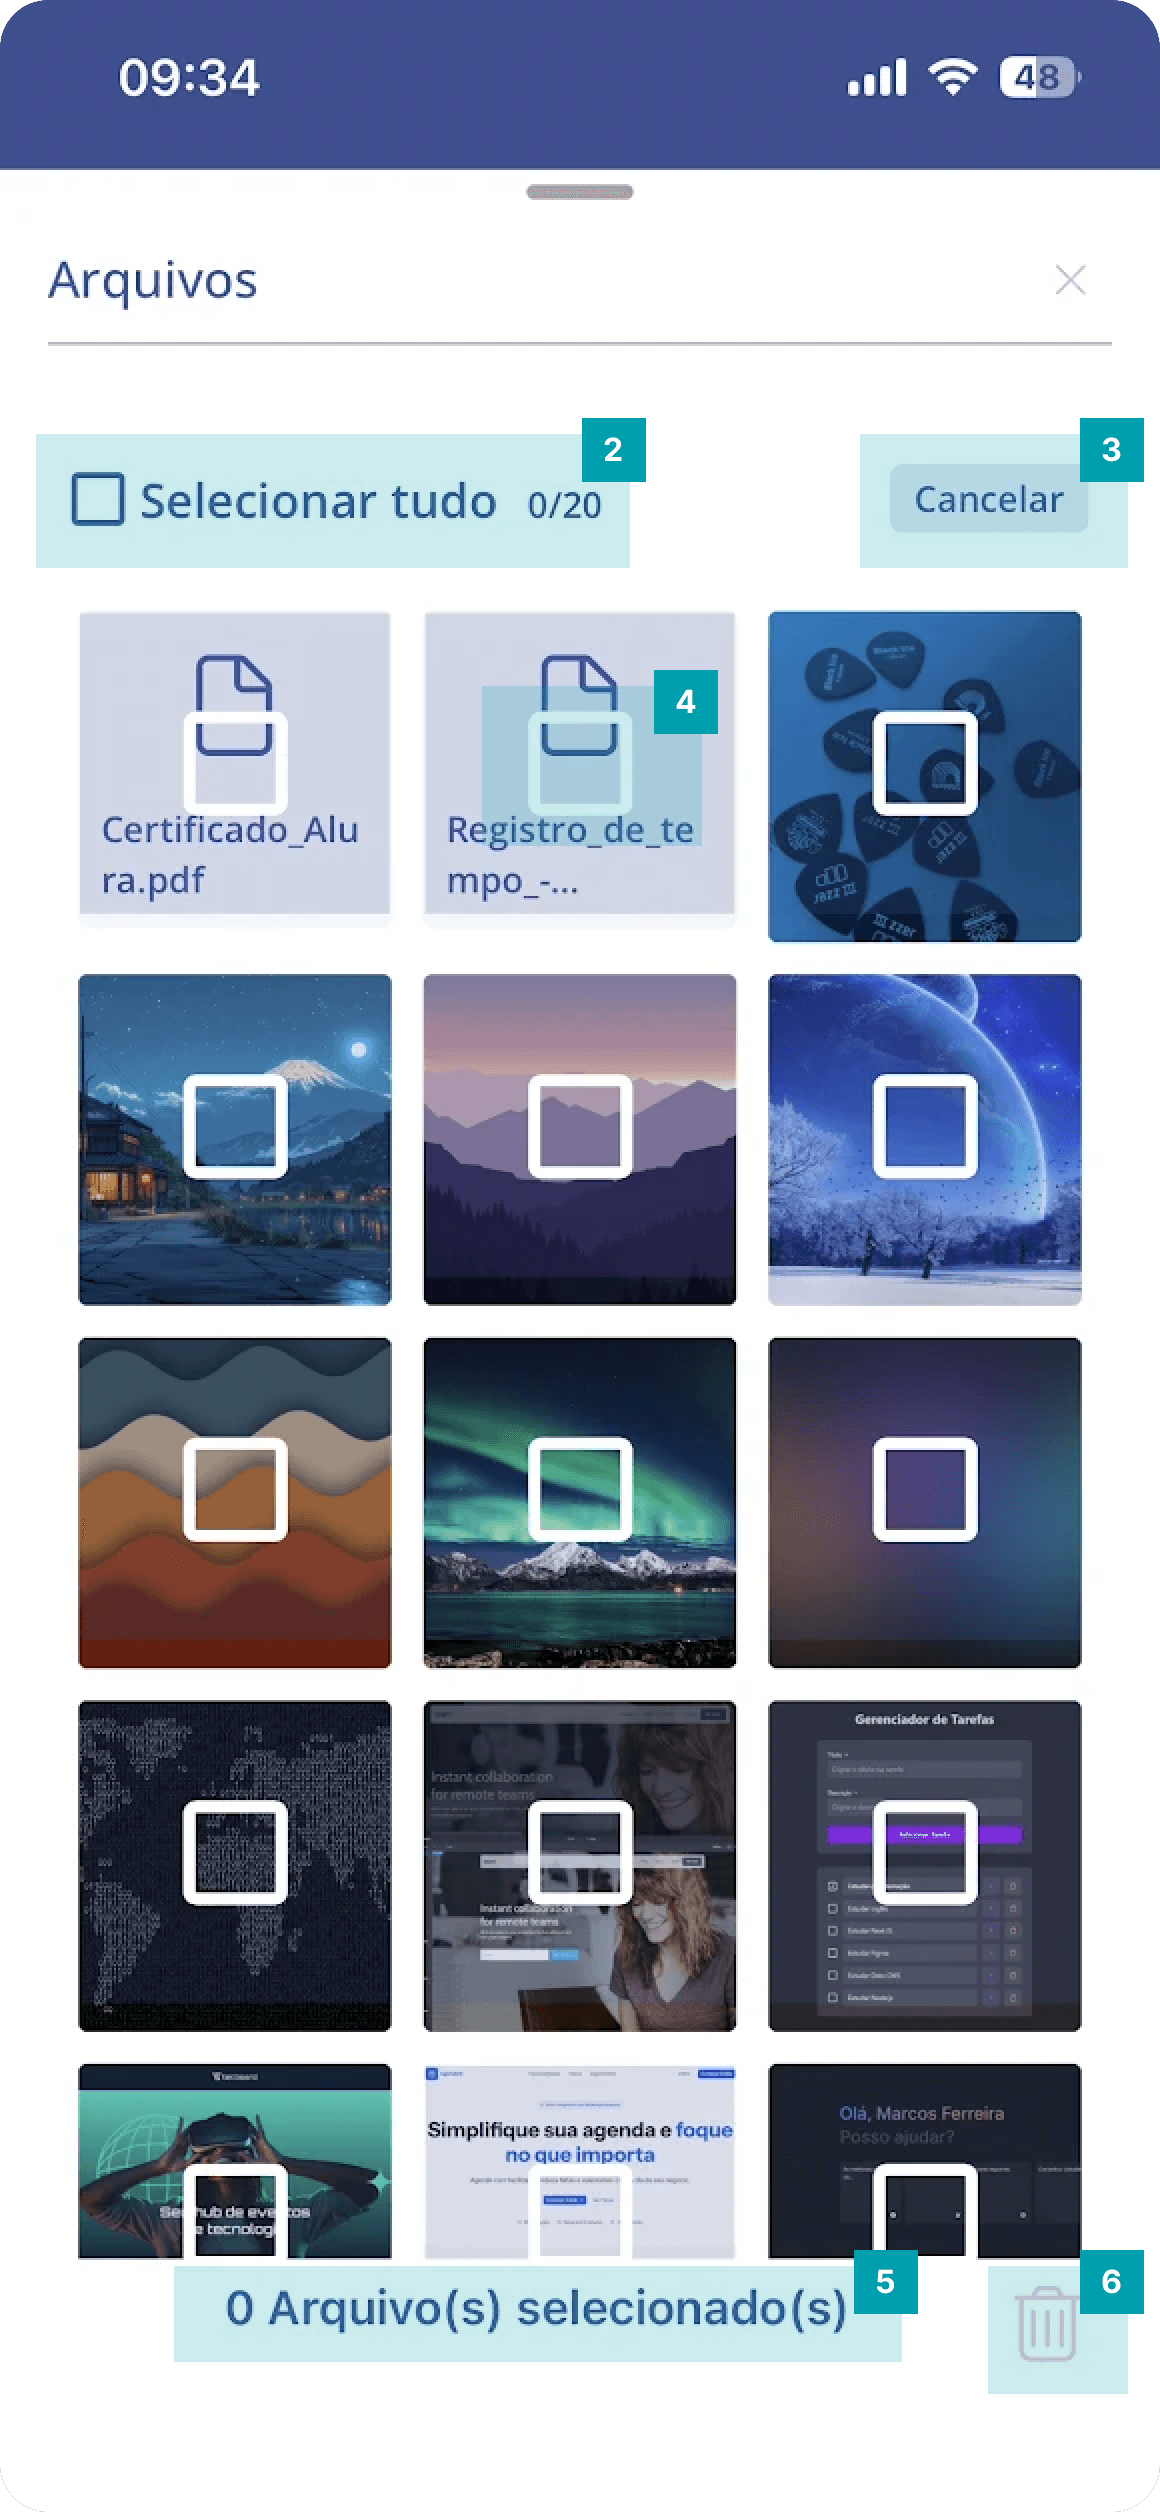
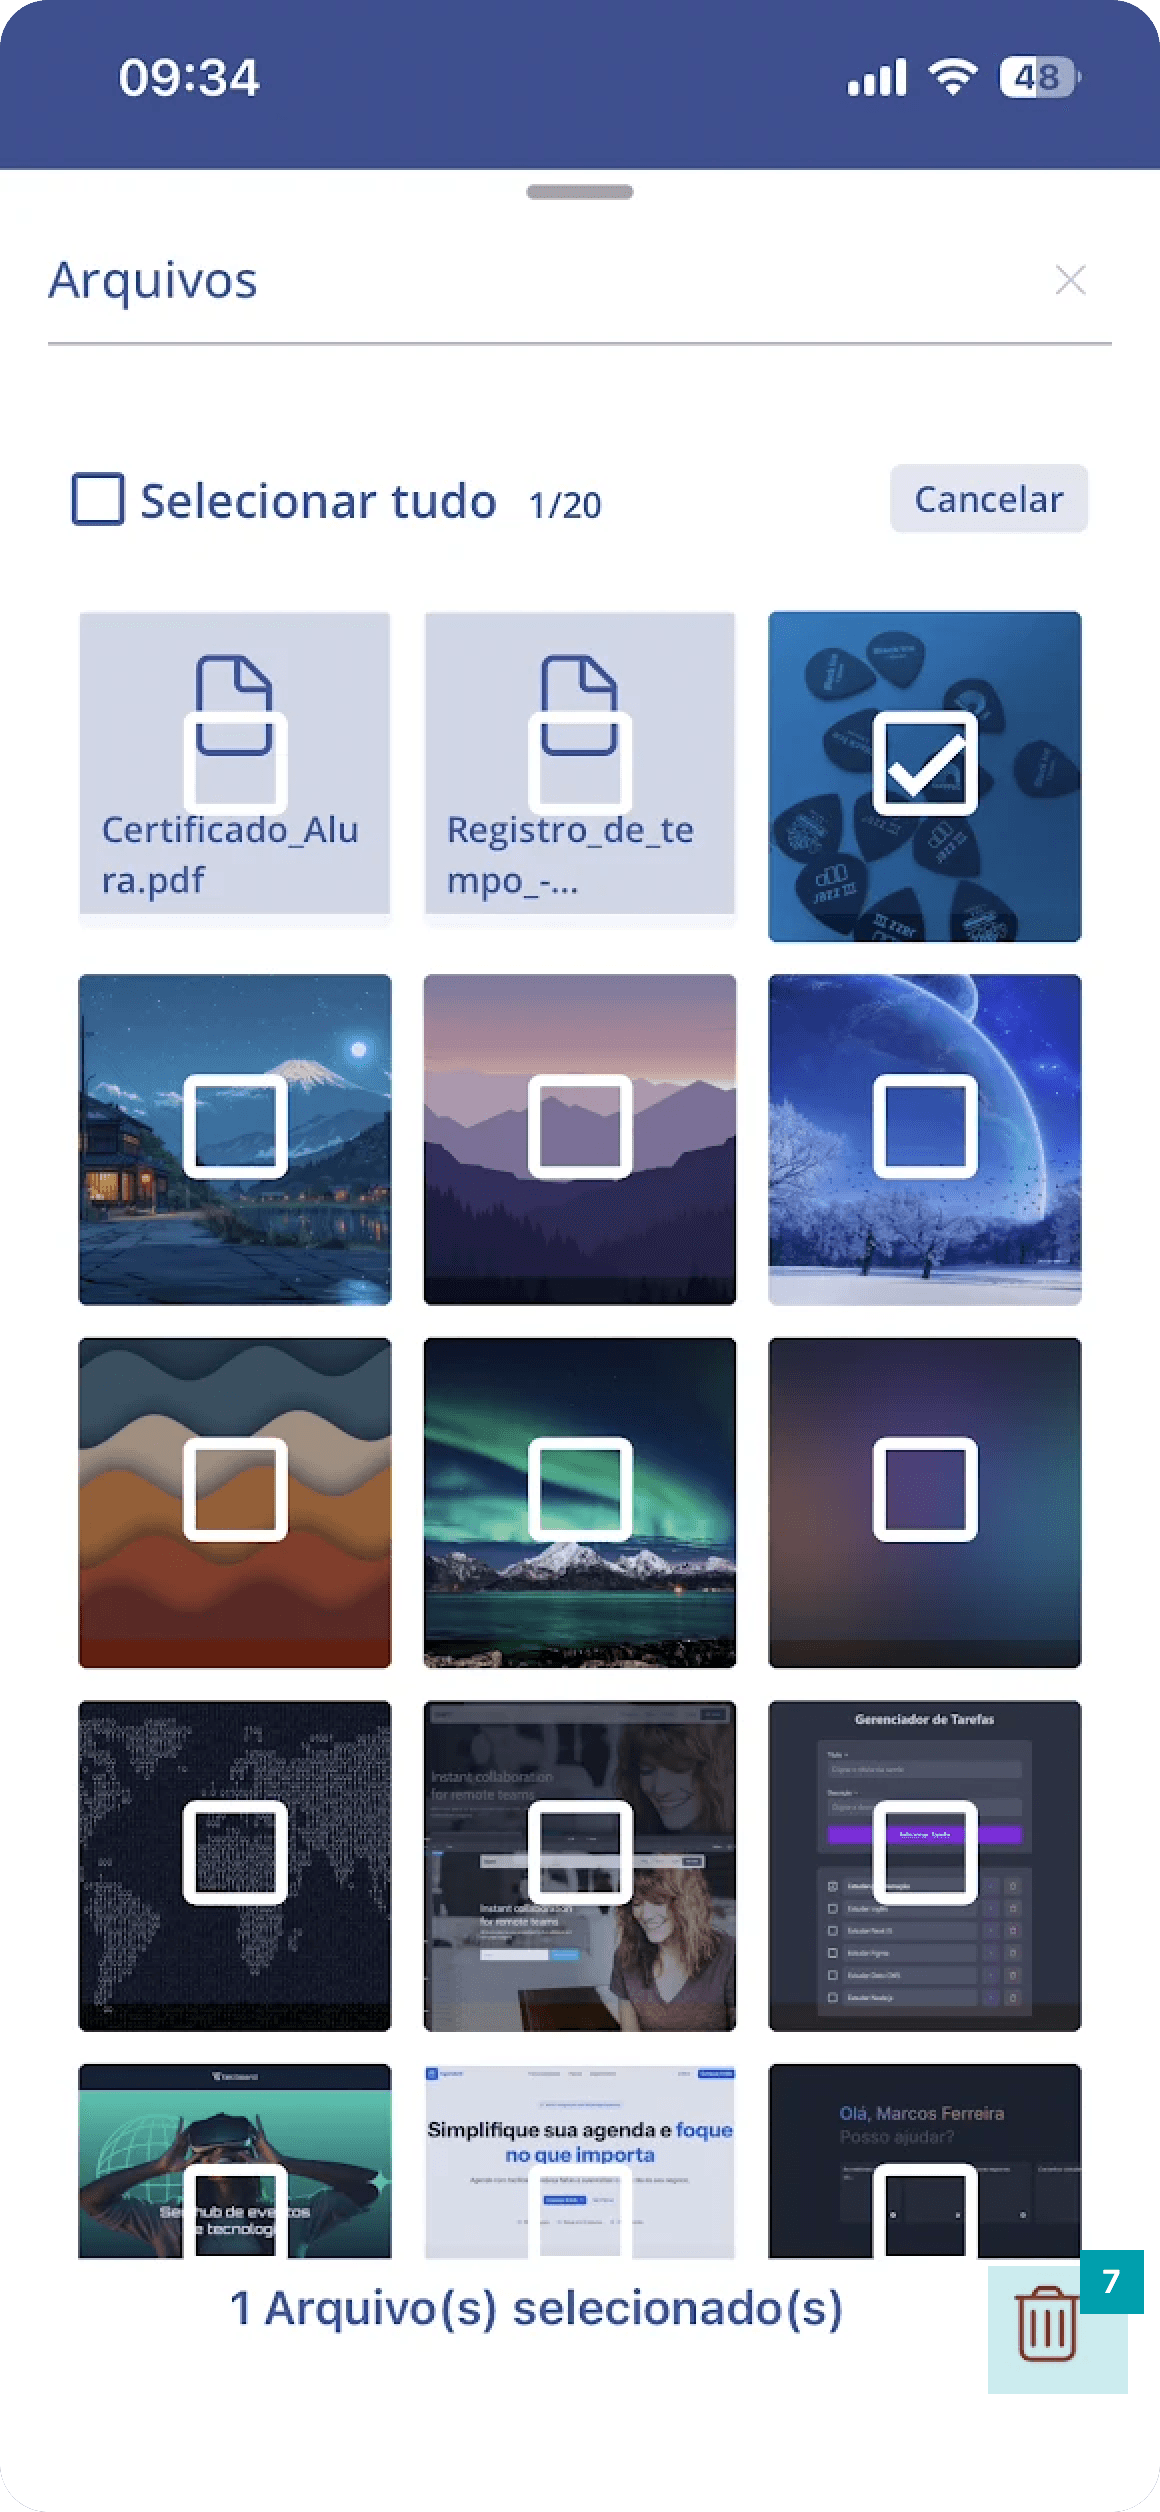
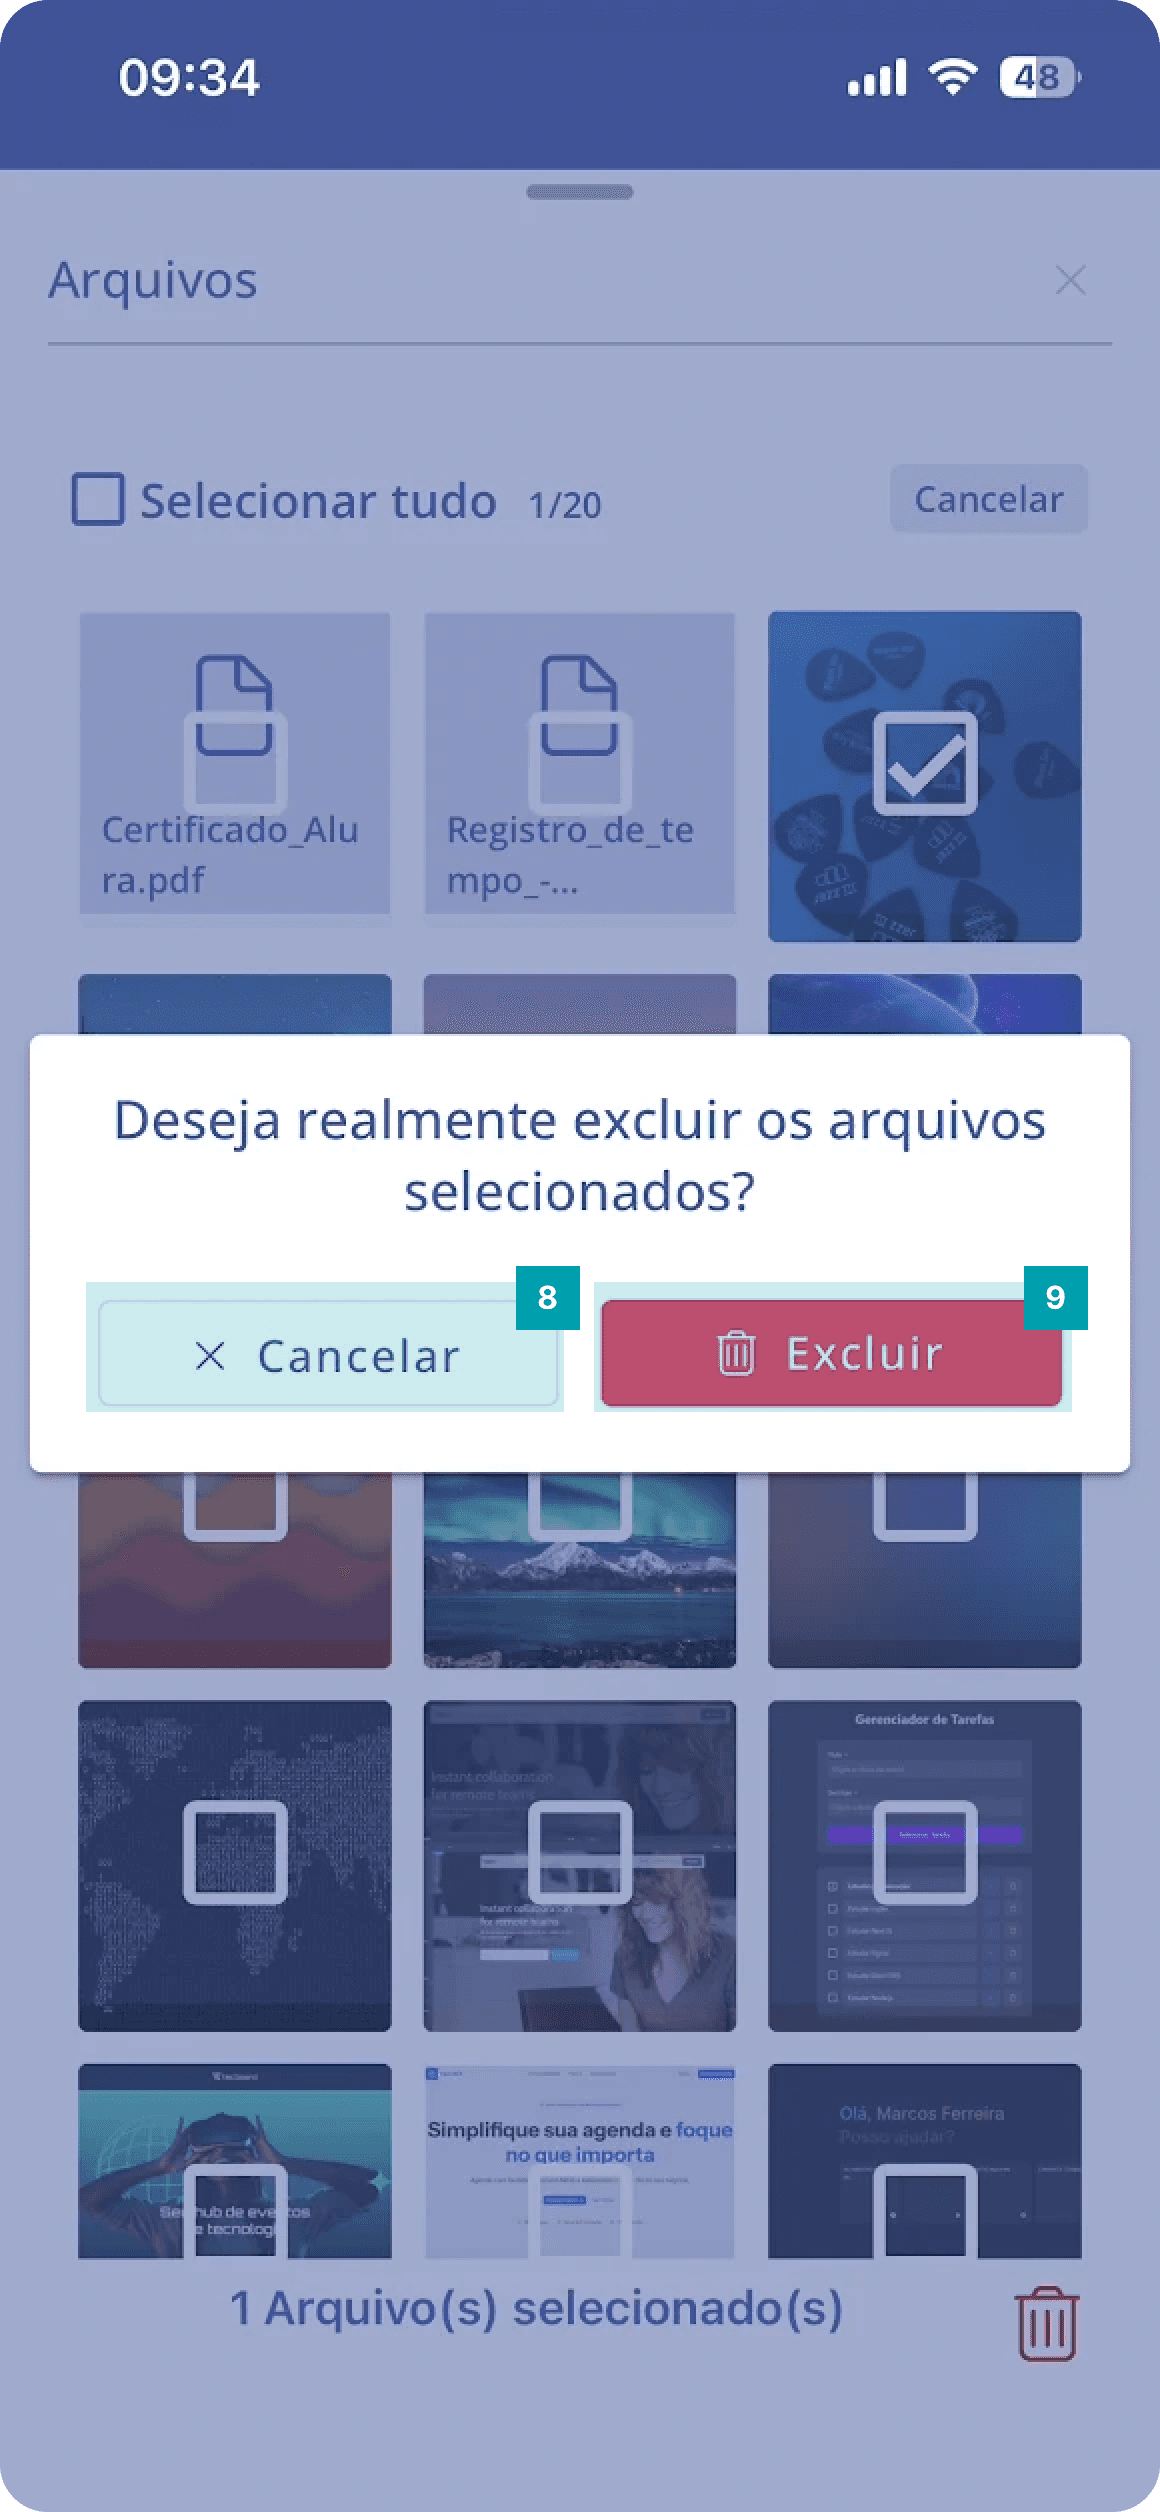
Deleting a file from the activity

FullFull
  1. Select – Click the Select button to select one or more files.

  1. Selection – Click the checkbox to select all files in the activity. It also shows the number of selected files x total files.

  2. Cancel – Click to cancel file selection.

  3. Checkbox – Click the checkbox above the desired file to select and remove it.

  4. Total – Here you can track the total number of selected files.

  5. Delete – After selecting one or more files, the red trash icon changes state from Disabled to Enabled so you can click it and delete a file. While no files are selected, it remains in the Disabled state with opacity.

FullFull
  1. Delete – After selecting one or more files, click the trash icon to delete the selected files.

  2. Cancel – Click the button to cancel deleting the selected files.

  3. Delete – Click to confirm deleting the selected files.