Sending the planning
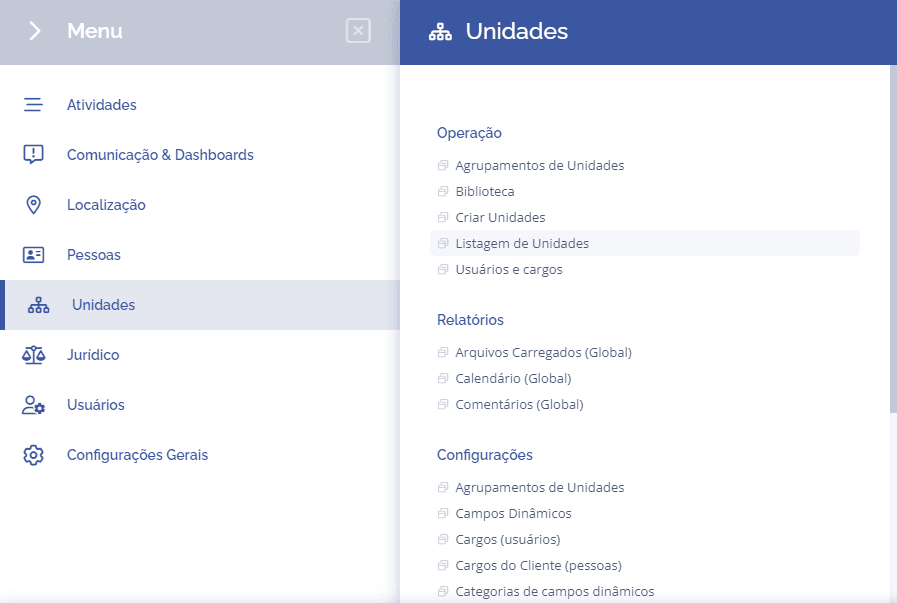
To perform the Planning Submission, you must open the Menu in the Units tab > Unit Listing.
Next, you will be directed to the Unit Listing, where all units registered in your system will be displayed.

Then click the “View Details” button, located on the right side of the unit list.
When you click View Details, the Unit Details tab will open, where you must click the Annual Planning card.
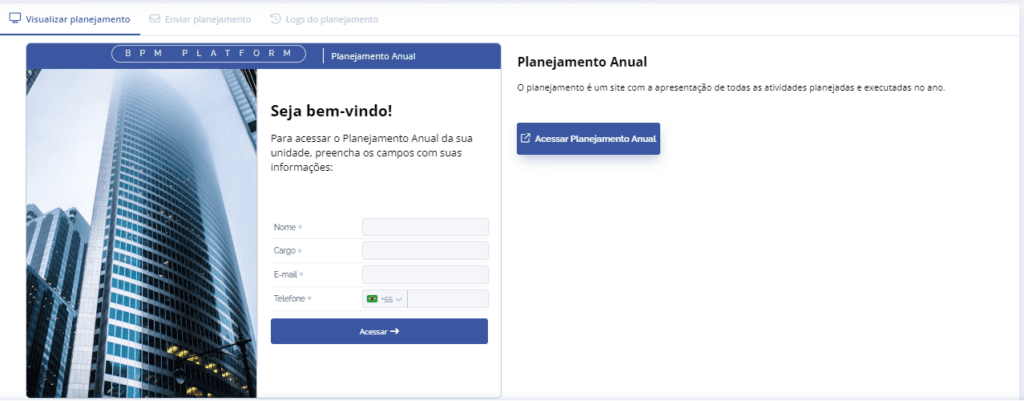
View Planning
After that, the View planning tab will open, where you can access your Annual Planning.
Submit Planning
On the right side of the View planning tab, we have the Submit planning tab; here it will be possible to view and register recipients and send your Annual Planning.

When clicking the “+ Register recipient” button, the registration screen will open, where the Recipient Name, Position, and Email must be entered.
Note: The Destination email is a required field and must be filled in.
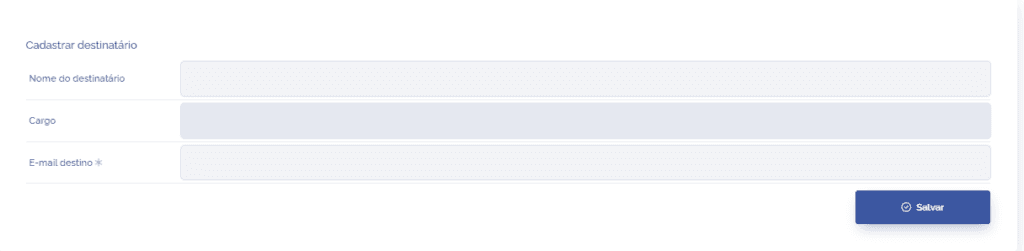
When clicking Save, the new recipient will be added to the list.
Submission details
When viewing the list of registered recipients, you will come across different submission statuses, such as:
Send planning: The planning will be sent for the first time;
Resend: You can send the planning again;
Sent successfully: The recipient received the email and will have access to the planning;
Sending error: If this message appears, try to resend;
Access expired: If this message appears, the link has expired, and it is necessary to resend it;
Revoke access: You can block the recipient's access to the planning.
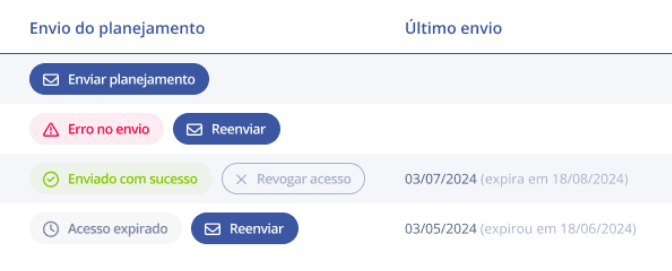
Note: It is possible to monitor the sending date, validity, or when the link was revoked, through the “Last sent” column.
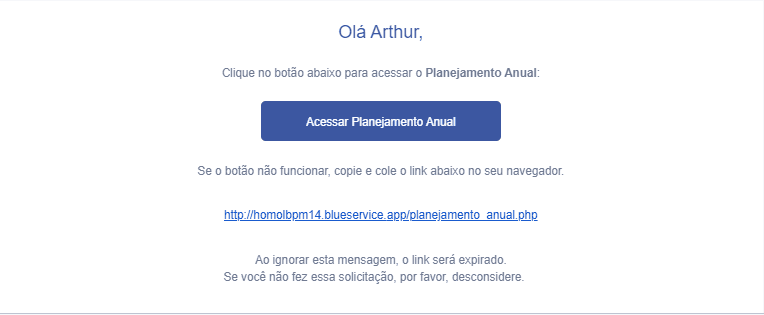
When sending the planning, the recipient will receive a confirmation in their registered email, where it will be possible to access and view your Annual Planning.