Legal areas
Create areas
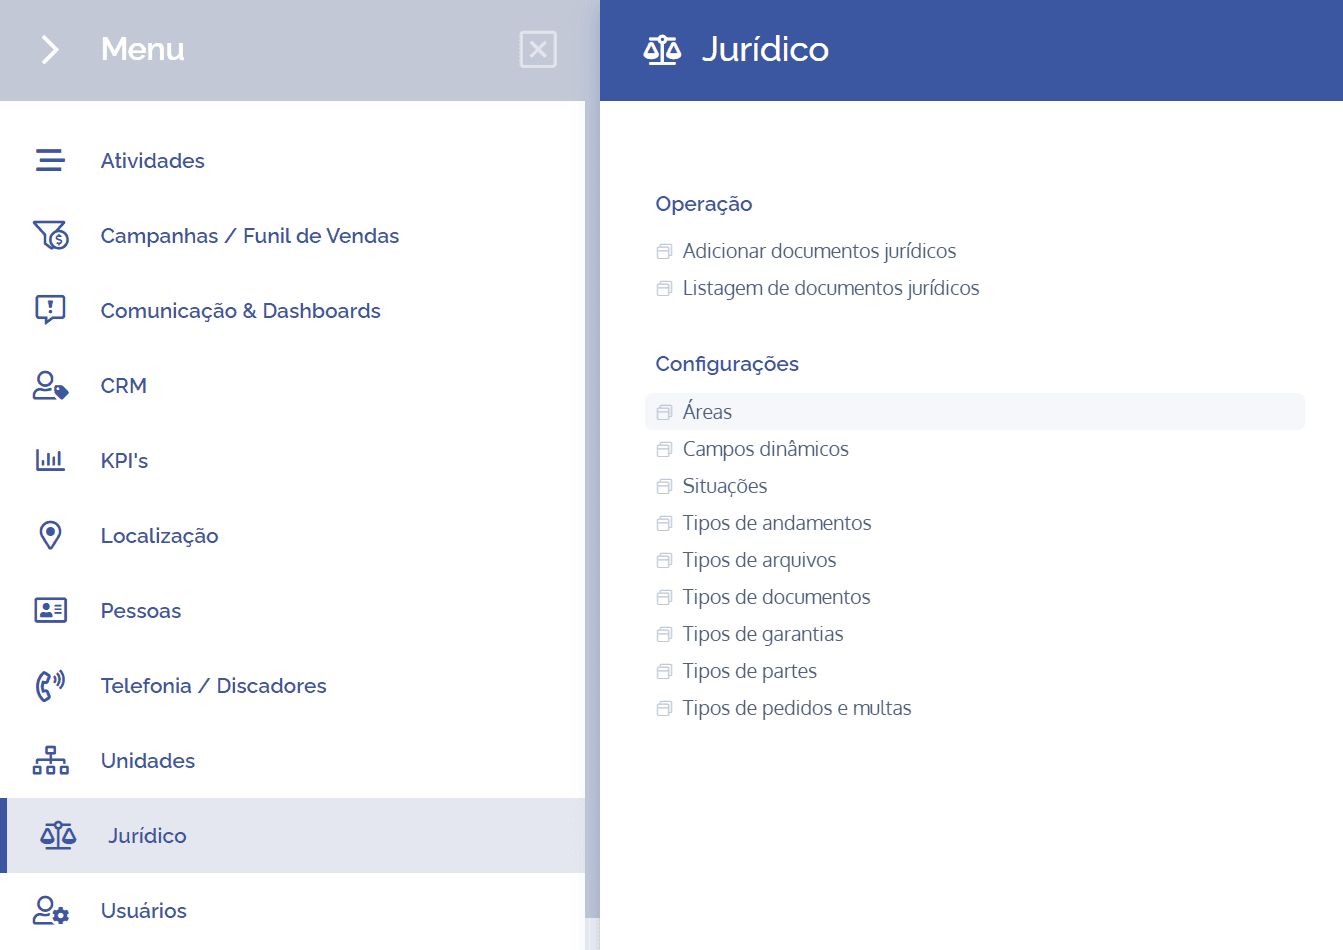
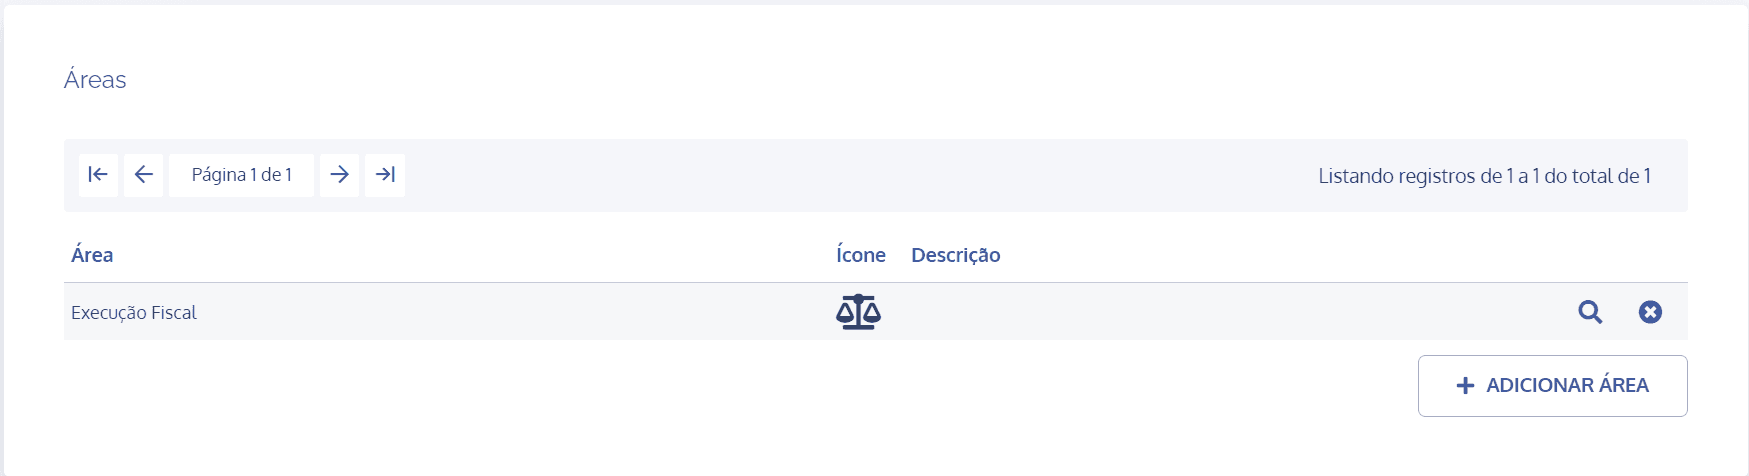
To create areas, open the main menu, select the Legal module, Settings and click the Areas option.
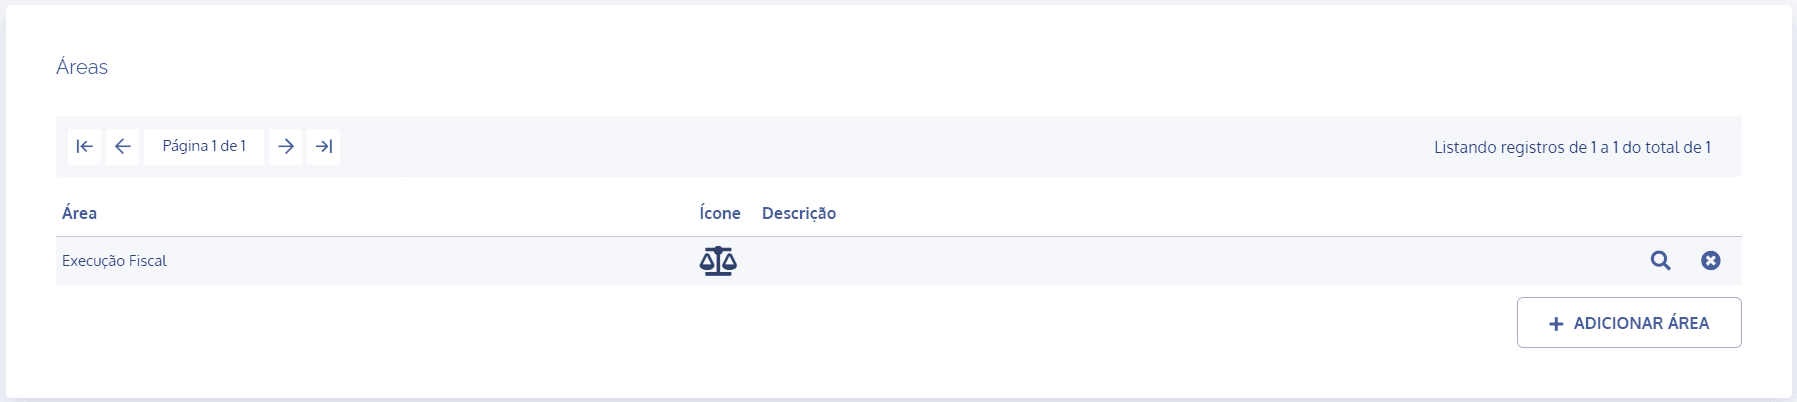
On the next screen, click the Add area button:
A new Add area block will be displayed:
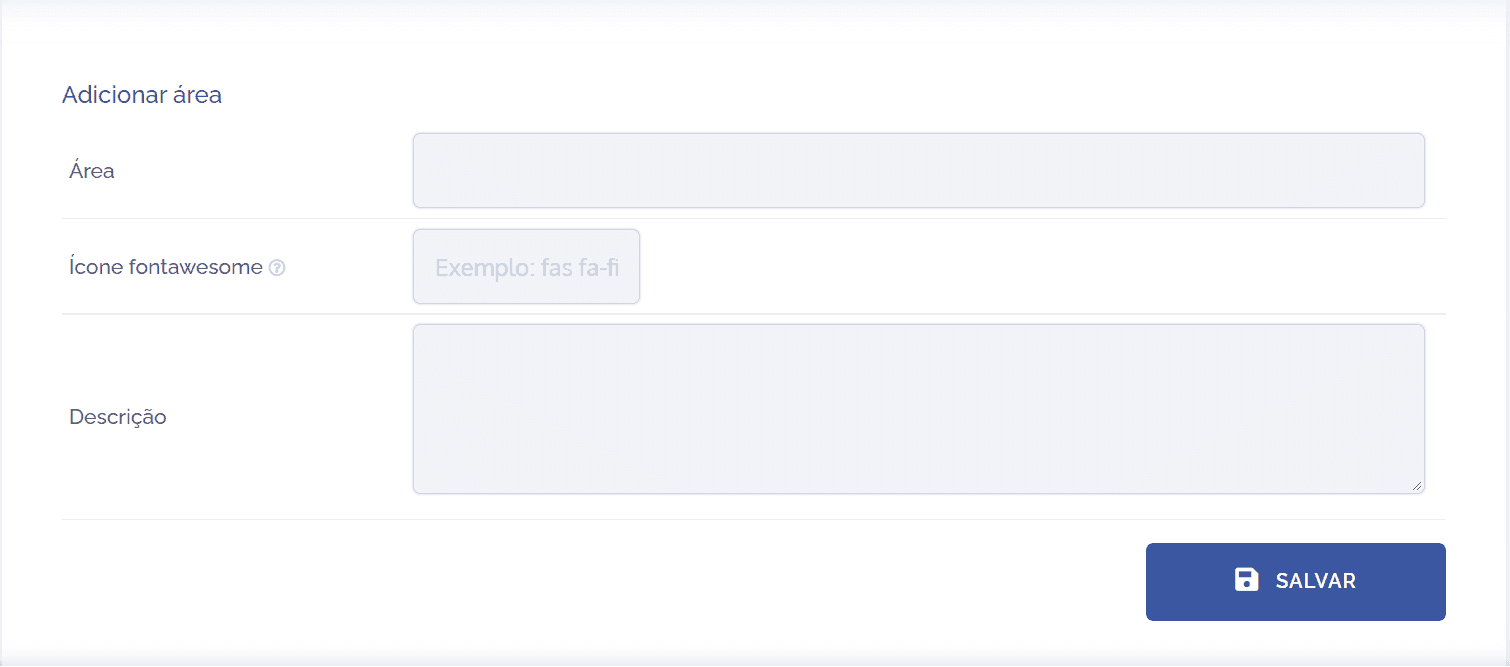
To proceed with creating an area, the following fields need to be filled in:
Area: By selecting this option, you can define a title for the area.
Font Awesome icon: By selecting this option, you can insert scalable vector icons that can be customized in order to describe the area through an image (icon).
Description: By selecting this option, you can provide a brief description regarding the purpose of the area.
After filling in the fields, click the Save button to register it in the system.
Area details
After creating the area, it is possible to configure it with the relevant associations and permissions. To do so, click the Magnifying Glass icon. However, see the Area settings topic for more details.
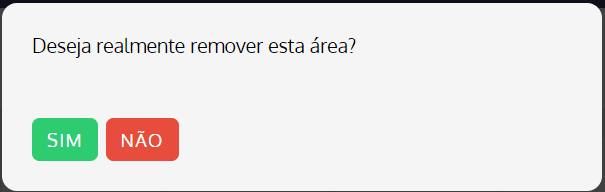
Remove area
When clicking the remove icon, an area removal confirmation dialog will be displayed: